1. First 5 Ingredients: In large mixer bowl add first 5 ingredients. Give them a good stir.
2. Add Half the Flour & Yeast: Add half the flour and sprinkle the yeast on top. Mix well with a wooden spoon or rubber spatula.
3. Resting: Cover bowl and allow to rest for about 30 minutes. This process is very important. It allows the fresh flour to absorb moisture and develop flavor.
4. Add Butter and Flax Seed: After the resting period, remove the covering and add the butter and flax seed. Mix on low.
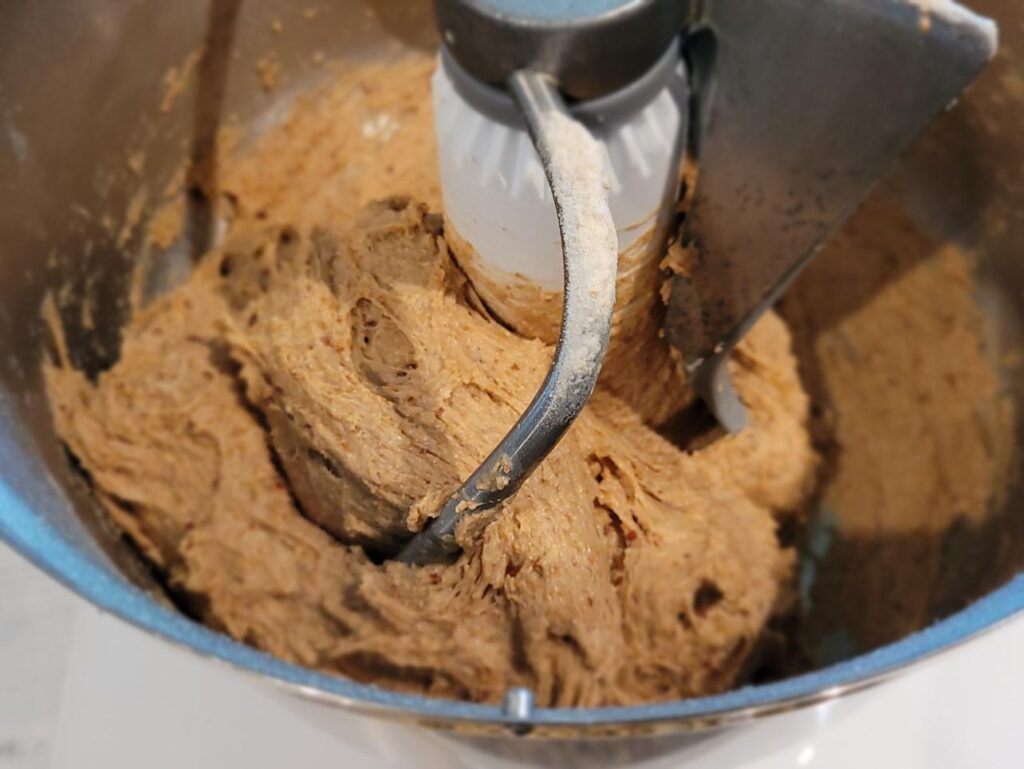
5. Adding Remaining Flour: Turn mixer on low; begin adding additional flour 1/2 cup at a time, allowing the dough hook to work in the flour a few turns. Continue adding flour UNTIL dough pulls away or CLEANS the side of the bowl ONE time, then STOP adding flour.
Dough may be slightly sticky, may stick to the sides again or pool at the bottom of the bowl; but, DON’T be tempted to add more flour. Just let the dough hook do it’s thing, working in all the flour.
Kneading: Start your timer and knead for 8 minutes. Knead until gluten is fully developed. Hand kneading may take about 10-15 minutes.
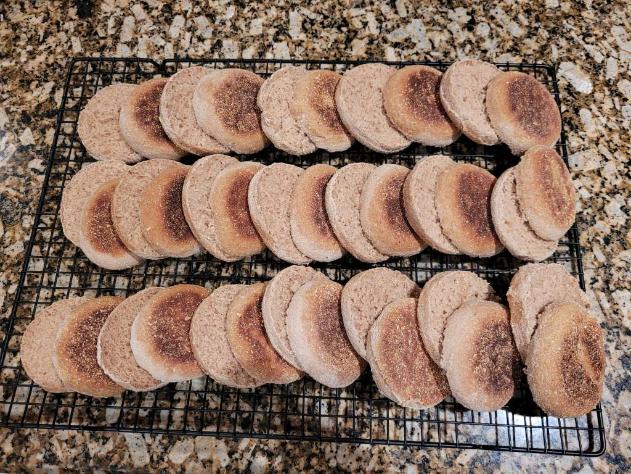
6. Grease cookie sheet: If your cookie sheet has sides, simply flip it over and grease the bottom. This makes easy removal of muffins after rising without deflating them.
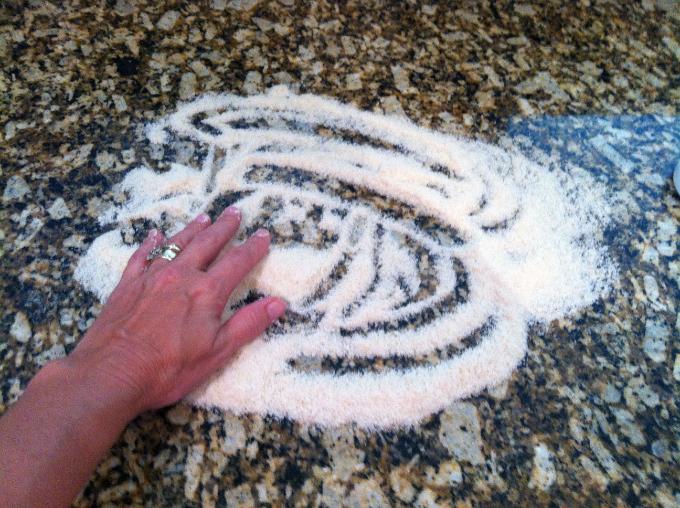
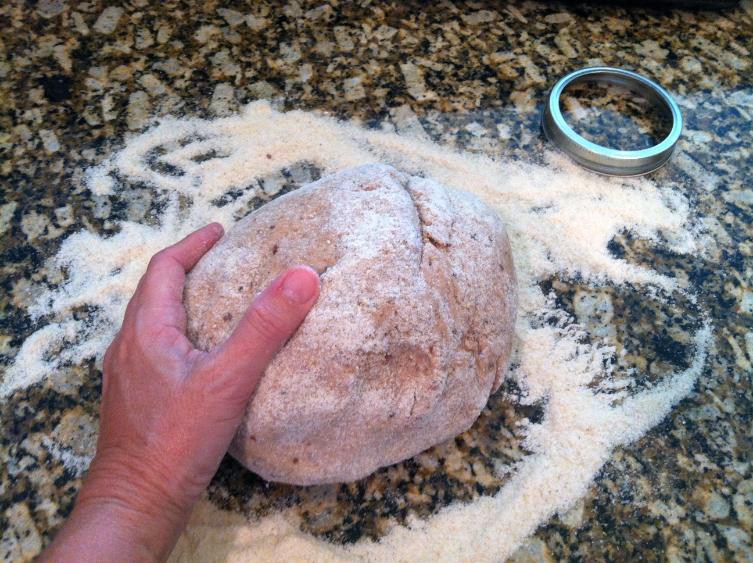
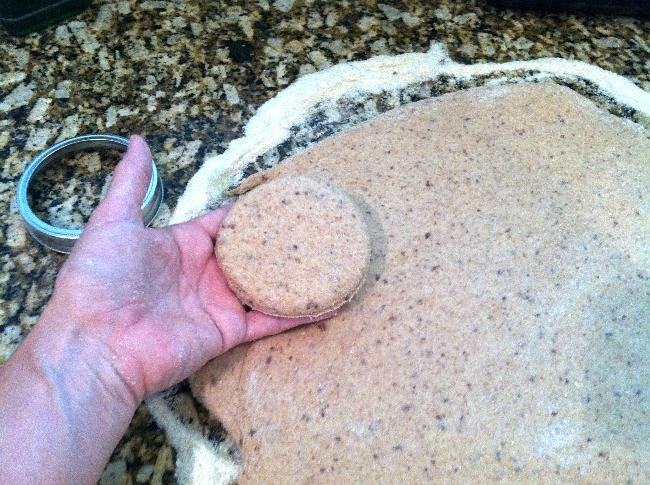
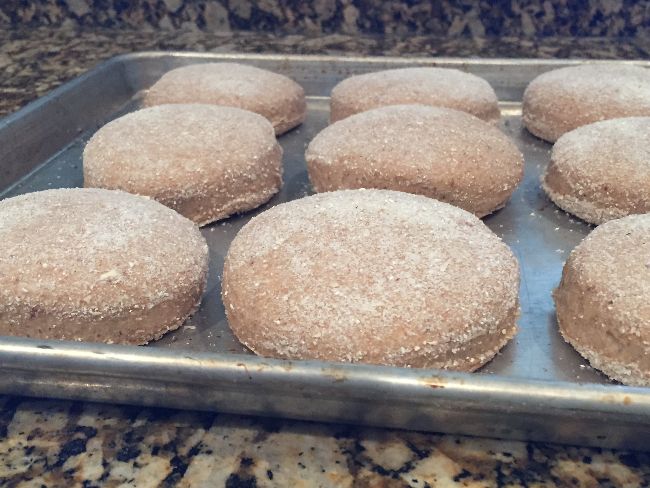
7. Roll & Cut Doug: Sprinkle cornmeal on worksurface. Roll dough out to 1/2 inch thick. Sprinkle more cornmeal on top of dough. using a wide-mouth canning ring or 3-4 inch cutter, cut muffin rounds. Place them on the greased cookie sheet. Cover and let rise about 30 minutes.
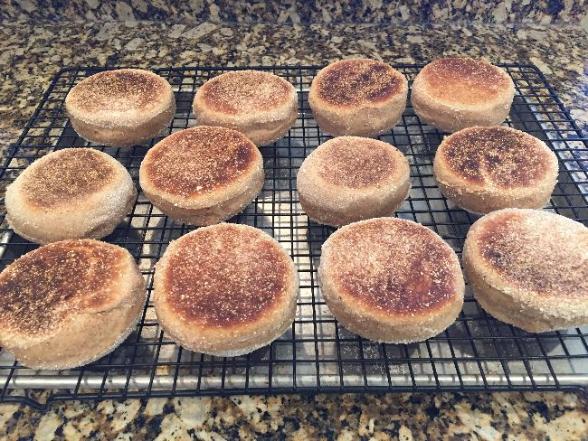
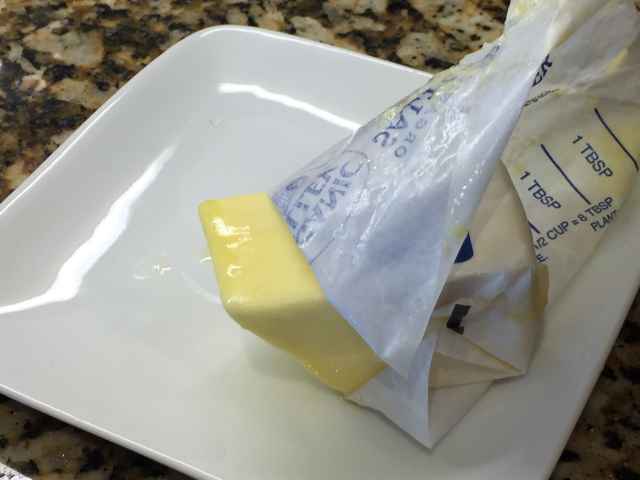
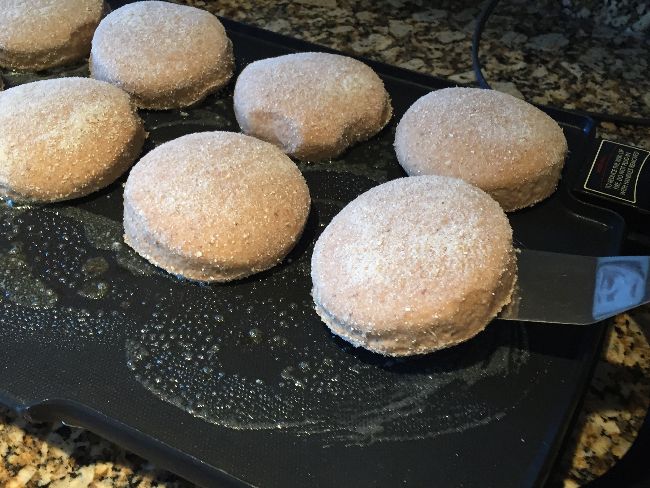
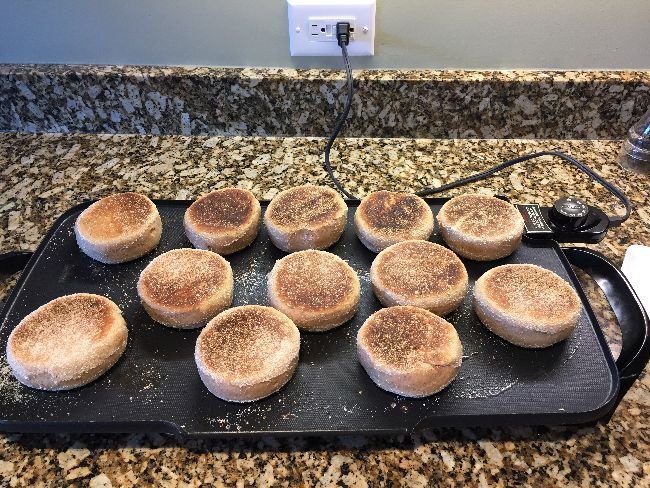
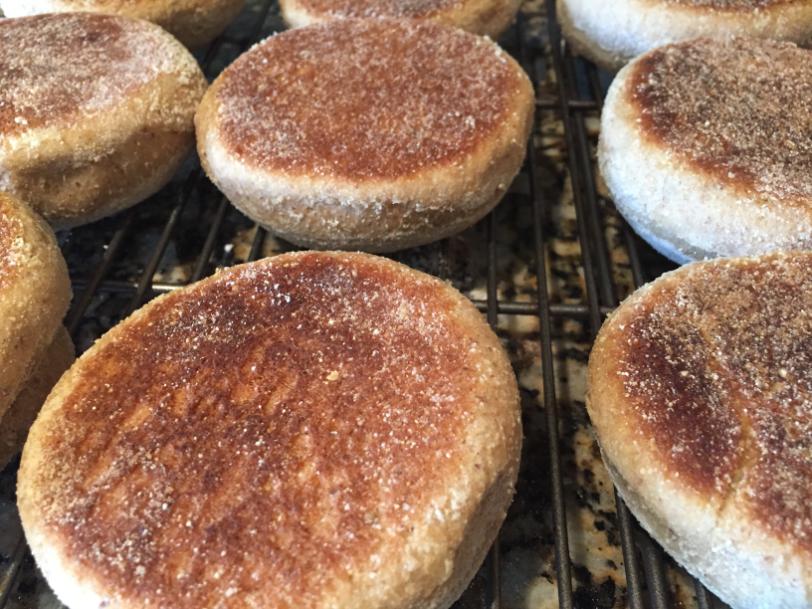
8. Cook: Heat griddle or skillet to 350 degrees or medium heat. With a cold stick of butter, paper peeled back, make swirls of butter on the griddle. Carefully, not to deflate, lift each round with a spatula and place on the swirled butter. Cook until golden brown, about 3-4 minutes. Turn once while cooking, swirling griddle again with more butter before setting muffin back down; continuing to cook until golden brown. Cool on cooling rack.
Note: If your muffins are not completely cooked in the center, simply place them back on the cookie sheet and bake in a 350 degree oven for about 10 minutes. Cool on cooling rack.
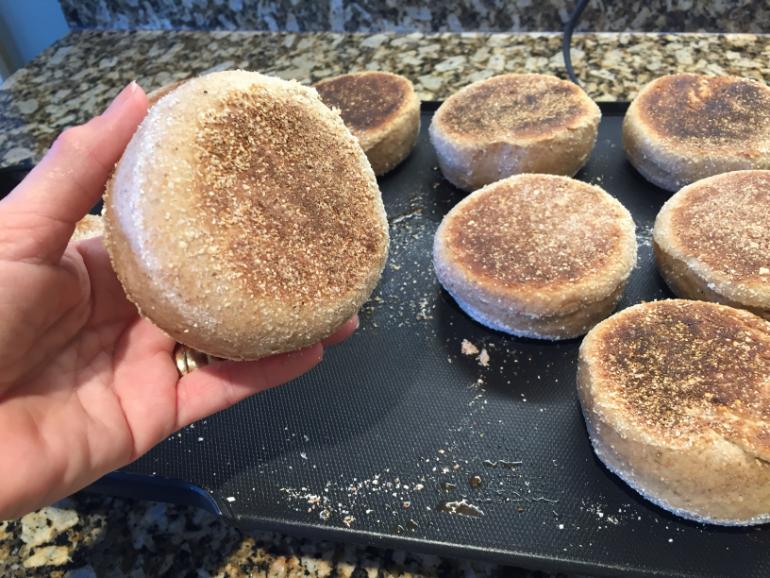
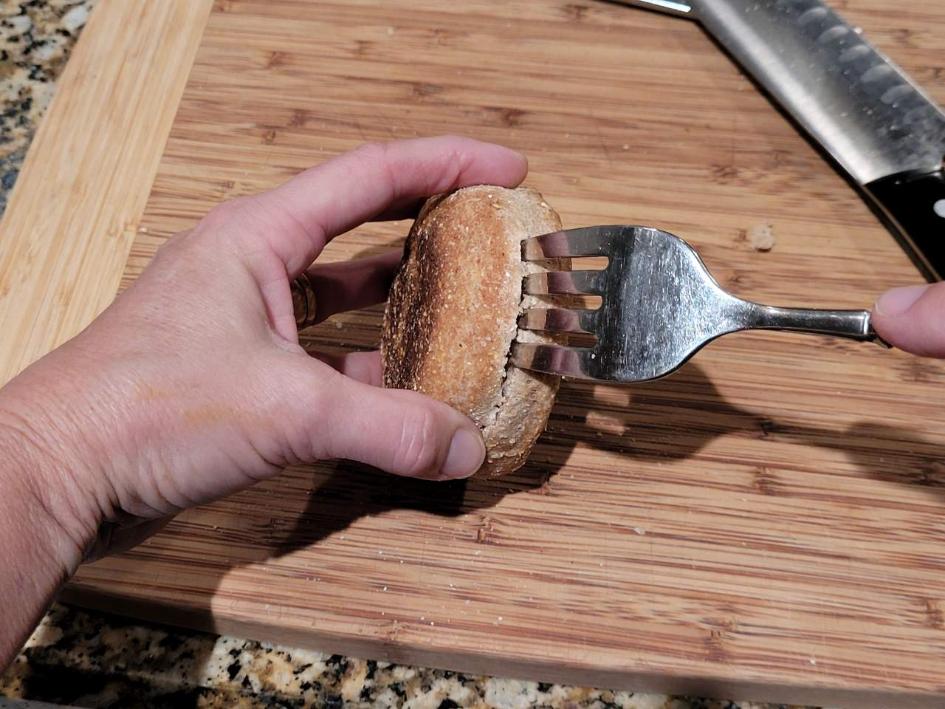
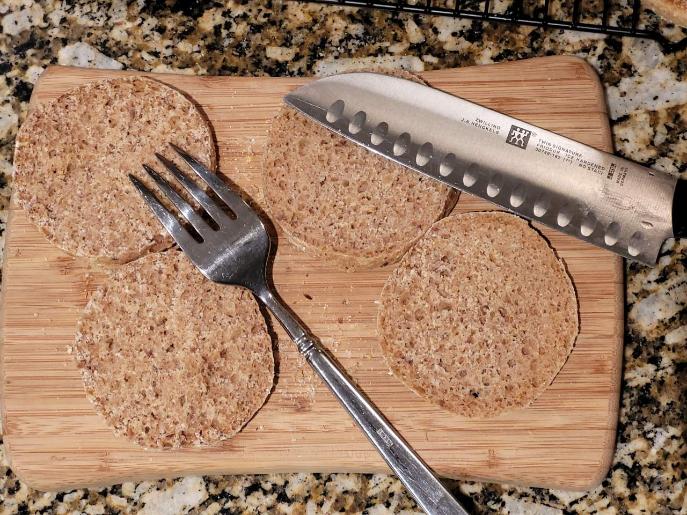
9. Slicing: Using a large fork, press in around all sides to separate muffins. The fork will give a ruff surface on the inside of each muffin to soak up toppings. a sharp knife may also be used, but the inside will be smoother.
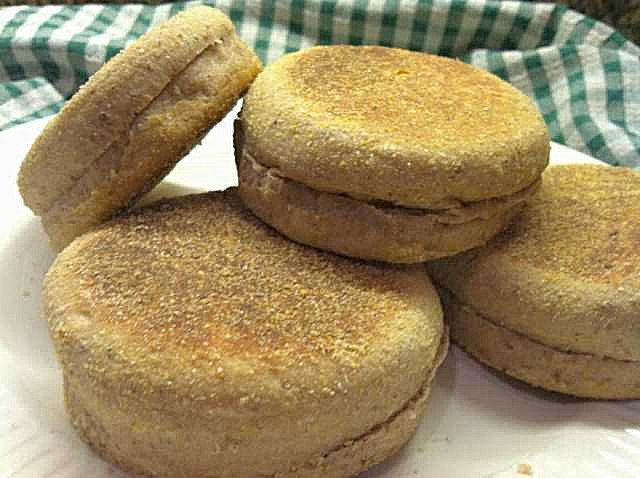
10. Serve: Serve plain or with your favorite topping. Pop them in the toaster bagel setting for a toasty inside.
11. Storage: Muffins may be stored in a loose bag for a few days. Extras should be shored in the freezer.
*Tracy’s Tips:
- Optional ingredients enhance the nutrition and/or texture – highly recommended
- These muffins freeze great, so make extras
- Use a small cutter and serve with honey butter as an appetizer
- Use a larger cutter for personal pizzas