Whole Wheat Bread

Bread Loaf on Wood Board

Give us this day our daily bread!

Mmm, smell that fresh baked

Whole Wheat Bread

Whole wheat bread, I say make it homemade and with freshly milled whole wheat flour.  Now, that is REAL 100% whole grain wheat bread.

We must keep in mind, the “whole wheat” on the grocery store shelves is NOT real whole wheat.  It can’t be.  Real whole grain flours and breads will go rancid on the shelf because of the oils in the germ.  So, to make true whole wheat bread, it must be ground fresh and used in a short period of time.

For more detailed explanation, please see the following pages:
Real Bread
History of White Flour

If you are new to the fresh milling process, I suggest reading on or to get right to it simply click the button to go straight to the recipe.

Whole Wheat Bread Loaf & Slices

Bread, especially sandwich loaf bread, is such an integral part of our lives.

  • Is it really a grilled cheese without it?
  • What about a delicious BLT?  Say it isn’t so!
  • Peanut butter and jelly just isn’t the same on any other bread.

But, who truly wants bread made from bleached out, sifted white flour, containing lots of added chemicals and no nutrition?  Uh, no one!  FYI, even the “whole wheat” from the store isn’t really whole wheat.  Most are basically white flour with a little bran added back.  Some even use caramel coloring to make it ‘brown’.  Really?!

You can make your own REAL 100% whole wheat bread that is so fresh – full of flavor – packed with life-giving nutrients


Yes, you can make it in the comfort of your own kitchen with some freshly milled whole grains. 

Yep, grind your flour yourself.


As a result, you will have bread made with:

  • No chemicals,
  • No preservatives
  • No freaky ingredients made from hog hair and other what-not
  • No insane amounts of gluten 

Just a handful of natural ingredients
that you control

“OK, how do you get freshly milled whole wheat,” you ask? 

By milling your own grain!

By Milling the Grain Yourself – In Your Own KitchenWith Your Own Grain Mill  

The following recipe is made using FRESH MILLED 100% whole wheat and other super nutritious ingredients.  I will show you how. 

Visit these pages to learn even more about milling fresh grains:
Getting Started-Milling
Real Bread

Fear not, if you do not mill yet, that’s OK; homemade is still better than store-bought any day.  Simply replace the flour measure with unbleached white flour or bread flour or 1/2 bread flour and 1/2 whole wheat flour.

This super easy whole wheat bread recipe is
so universal
you can use it for:

Dinner Rolls & Hoagie Rolls
Cinnamon Rolls & Bread Sticks
Hamburger Buns
and much more!

Tracy O's Tips clipart

Note:  
If you are new to  yeast loaf whole wheat bread making, fantastic!  
Because making whole wheat yeast bread is part science and part art; I feel that additional explanation is helpful.  
I recommend reading through the recipe instructions first and these Article pages as well:

Whole Grain Bread Making Tips
Ingredients

Yeast dough requires the glutens to be developed; to be kneaded in order for the dough to rise well; I find a stand mixer to do the job much easier.  

I use the Bosch Universal Plus Mixer; my baking hero!!!  

Because the Bosch holds so much dough, to save myself tons of time, I typically make the 3-loaf recipe and divide it up into multiple loaves or a combination of cinnamon rolls, a loaf and hamburger buns.  That way, I have breakfast, lunch and dinner covered.  Of course, divide the dough as you desire. 

**If you have a standard stand mixer:  KitchenAid, etc. then use the 2-loaf recipe. 

Bread Pan of choice:  I like a 9″ x 5″ bread loaf pan.  It’s more like a regular sandwich size.

My favorite:  The USA Loaf Pan 9″ x 5″

Recipe

Whole Wheat Bread

Recipes below:
KitchenAid Standard Mixer
Bosch Universal Plus  or  NutriMill Artiste Mixers

Standard KitchenAid Mixer Recipe

2 Loaves (Approx. 1-1/4 lbs each or 1 Loaf & some Rolls or Buns

Ingredients:

2 cups  Warm Water
1/4 cup  Sucanat* or Raw Honey or Raw Sugar
2-1/2 teaspoons  Sea Salt
1 Tablespoon  Sunflower Lecithin* (optional)
1-1/2 teaspoons  Gluten* (optional)

5 – 6-1/2 cups  Whole Wheat Flour – freshly milled
Freshly milled Bean Flour* (optional) see Tracy’s Tip below
1 Tablespoon  Instant Yeast

1/4 cup  Extra Virgin Olive Oil
1/4 cup  Fresh Ground Flax Seed* (optional)

Bosch or Artiste Mixer Recipe

3 lbs (approx), Divided
Recipe may be doubled

Ingredients:

3 cups  Warm Water
1/3 cup  Sucanat* or Raw Honey or Raw Sugar
1 Tablespoon  Sea Salt
2 Tablespoons  Sunflower Lecithin* (optional)
1 Tablespoon  Gluten* (optional)

7-9 cups  Whole Wheat Flour – freshly milled
Freshly milled Bean Flour* (optional) see Tracy’s Tip below
2 Tablespoon  Instant Yeast

1/3 cup  Extra Virgin Olive Oil
1/2 cup  Fresh Ground Flax Seed* (optional)

*Ingredients:  See explanation in the instruction sections below or for greater detail visit my Healthy Ingredients page.  

The optional ingredients are just that, optional.  However, they DO enhance the taste, texture and nutrition of your bread; but you totally may omit them.

Baked Bread in Loaf Pan

How much grain do I mill?

Take the total cups needed and divide by 1.5.

Example: 6 cups flour / 1.5 = 4 cups grain

If you do not mill your own flour yet

Simply replace the needed flour with unbleached all-purpose or bread flour. 

See Getting Started Milling to learn about milling your own grain, corn and bean flours and corn meals.

Start Milling

Your Own Grains, Corn & Beans TODAY
START TODAY
Tracy O's Tips clipart

How much grain do I mill?

One cup of grain will produce about 1-1/2 cups flour
Simply divide the total cups of flour needed by 1.5 to get the number of cups of grain you will need to mill.  (These amounts are approximates.)  

Example:  Flour needed 9 cups / divided by 1.5  =  6 cups grain to be milled

Did you say Bean Flour?

For added protein & nutrition add dried beans in with your grain when milling.  I like to use navy or baby Lima beans. 

Simply add about 1 to 2 tablespoons of dried beans per every cup of grain.  Have no fear, once you bake the bread you won’t taste the beans, just extra goodness. 😊

Instructions

Note:  Again, if you are new to making yeast loaf bread made with whole wheat, I encourage you to take a look at my Bread Making Tips page for some very helpful tips and more thorough explanation.

Simple Instructions

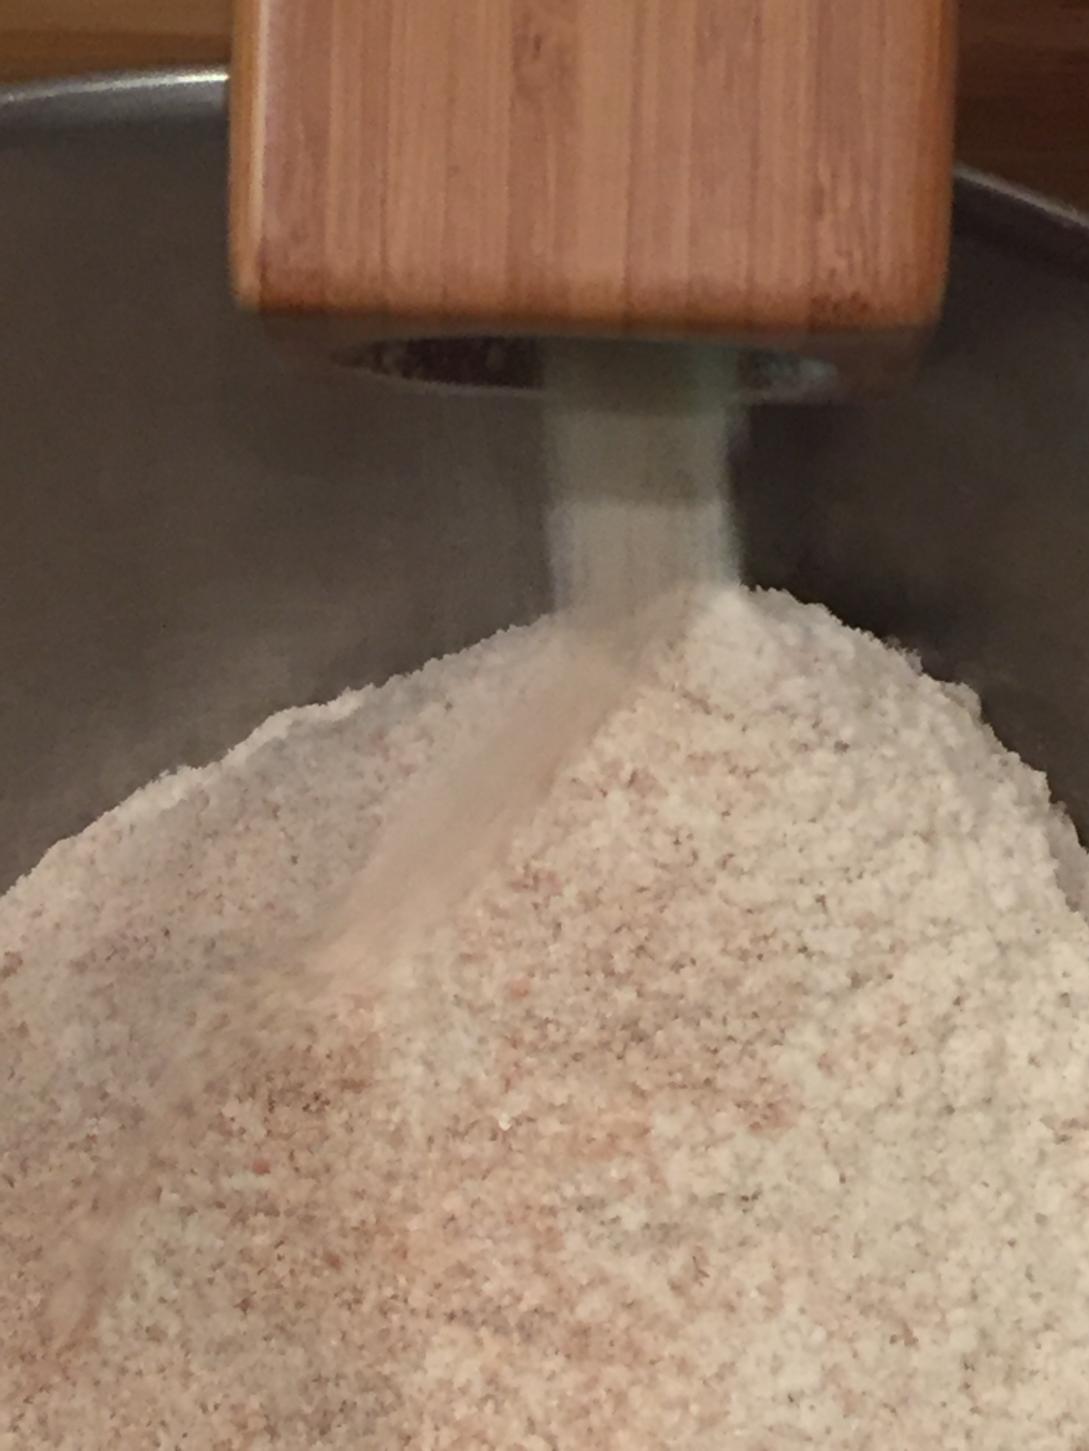
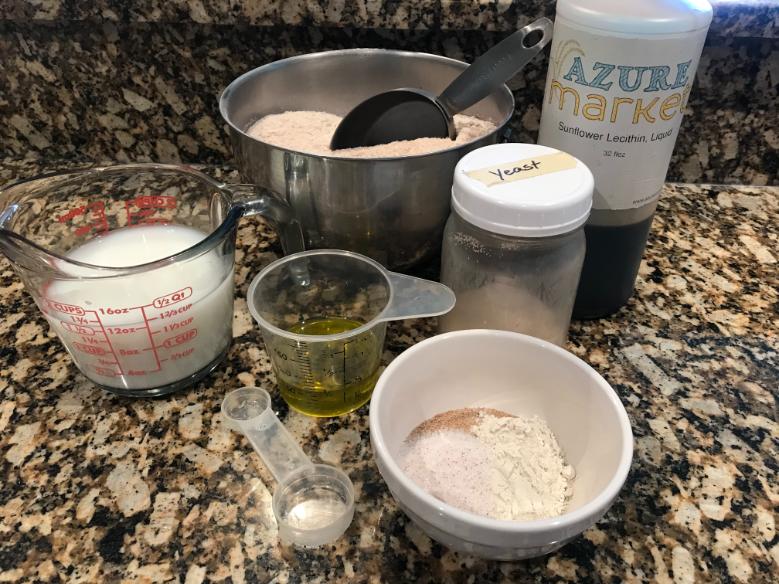
 1.  In large mixer bowl stir together first 5 ingredients.

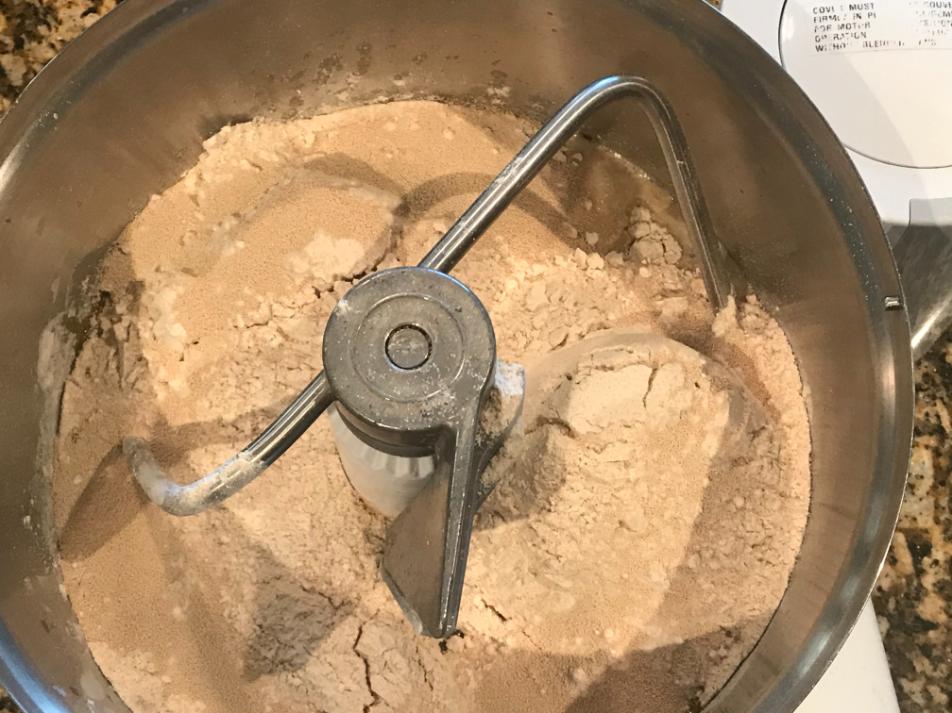
 2. Add half the flour & yeast: Add half the flour and sprinkle the yeast on top. Mix well with a wooden spoon or rubber spatula.

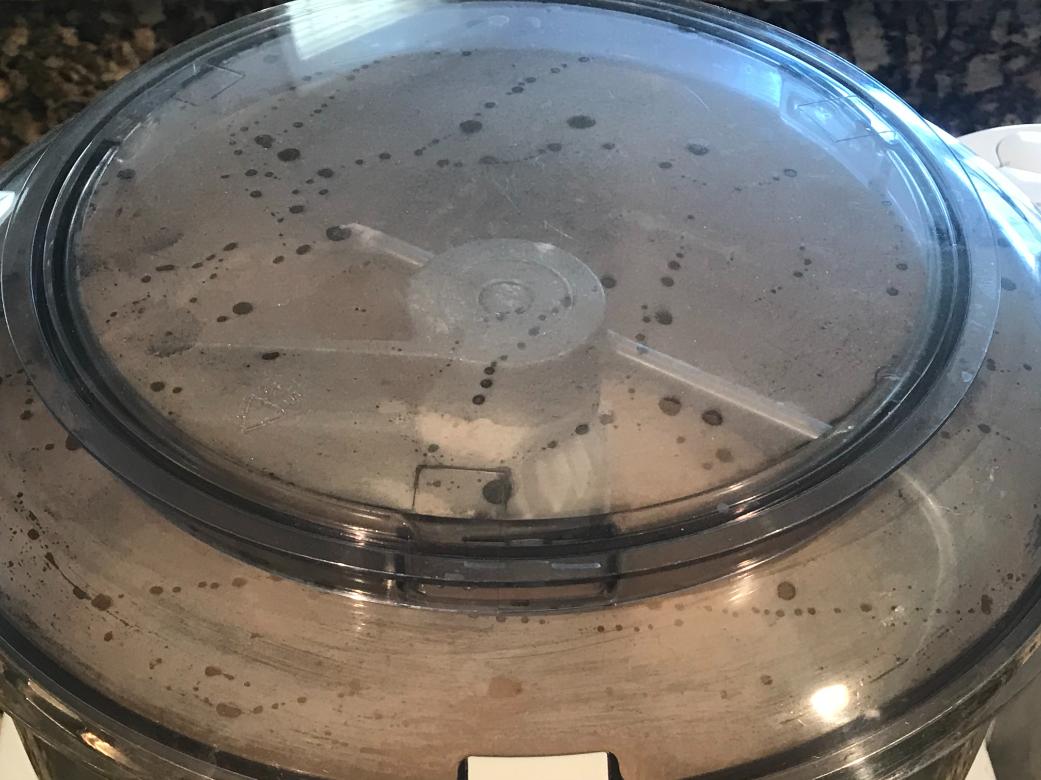
 3.  Resting: Cover bowl and allow to rest for about 10 minutes. This process is very important. It allows the fresh flour to absorb moisture.

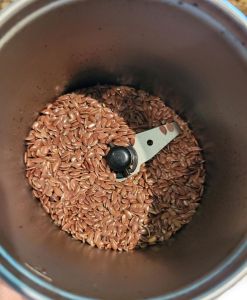
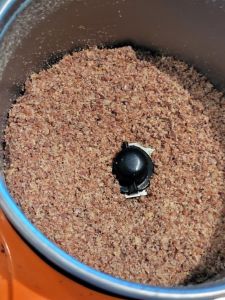
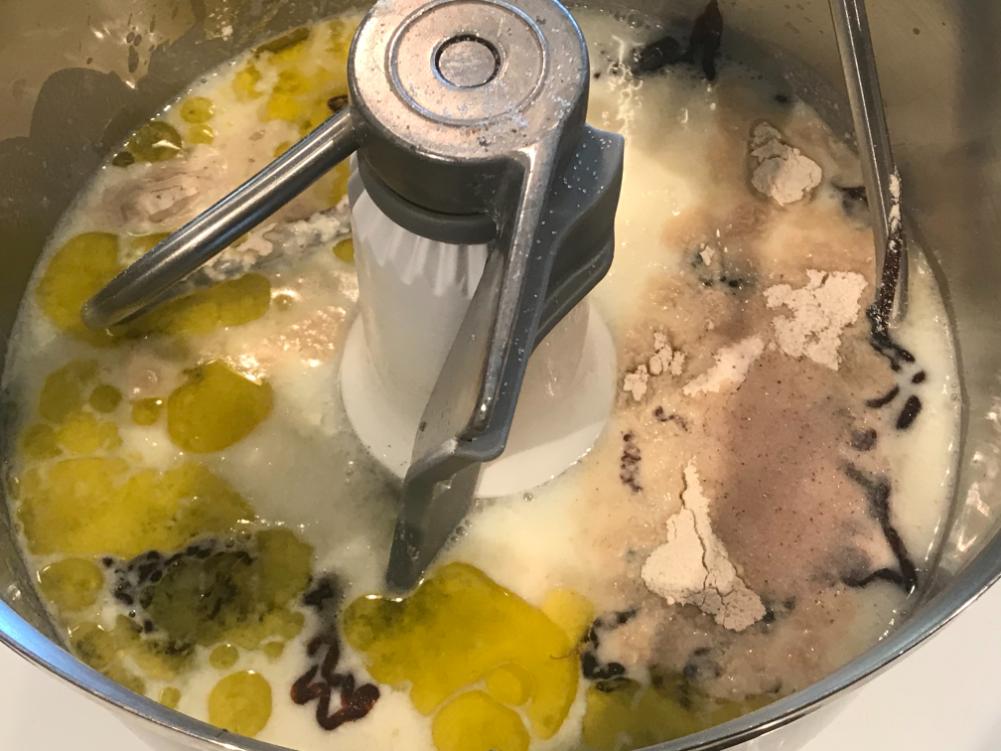
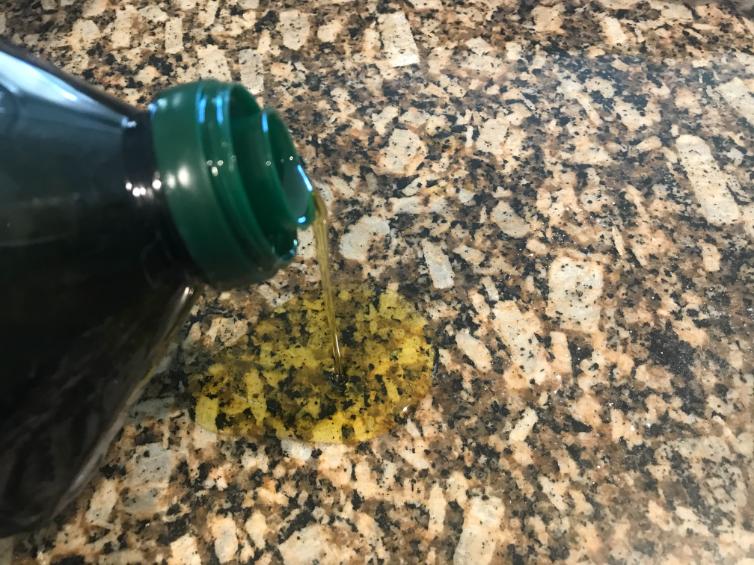
 4.  Add oil and flax seed: After the resting period, remove the covering and add the oil and flax seed

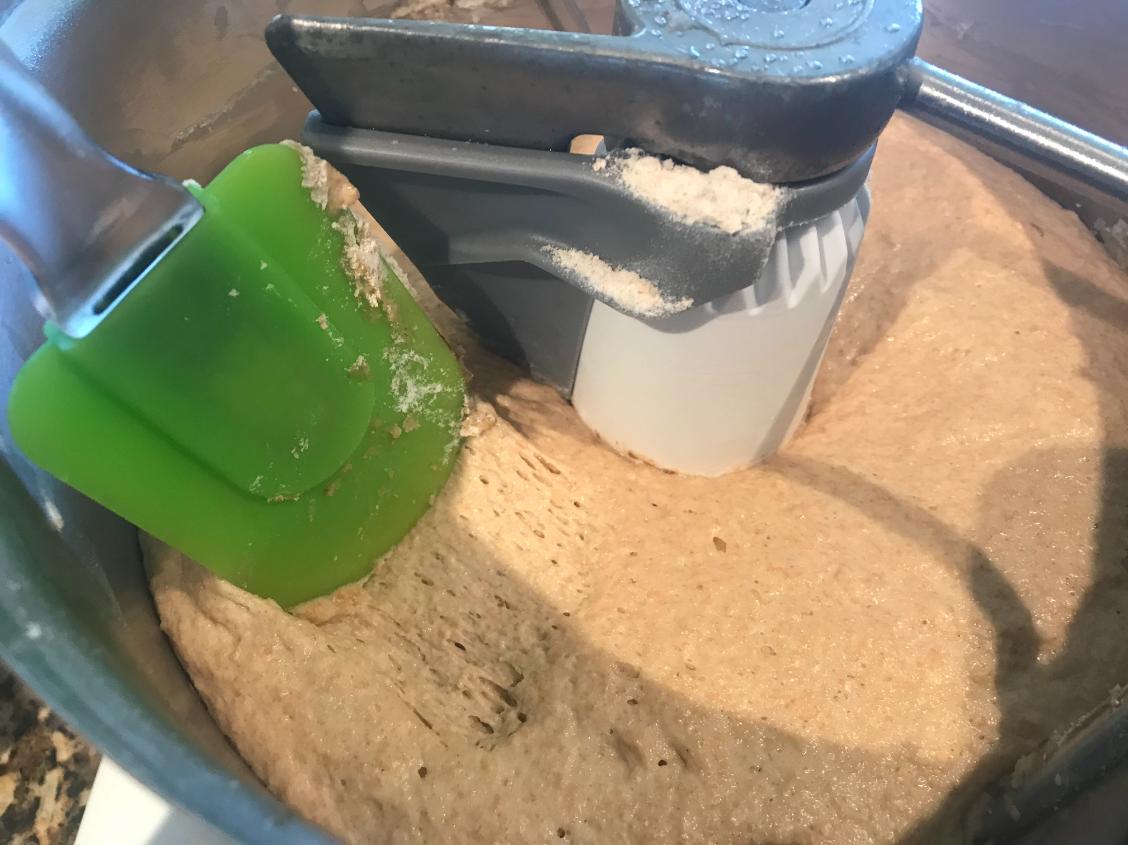
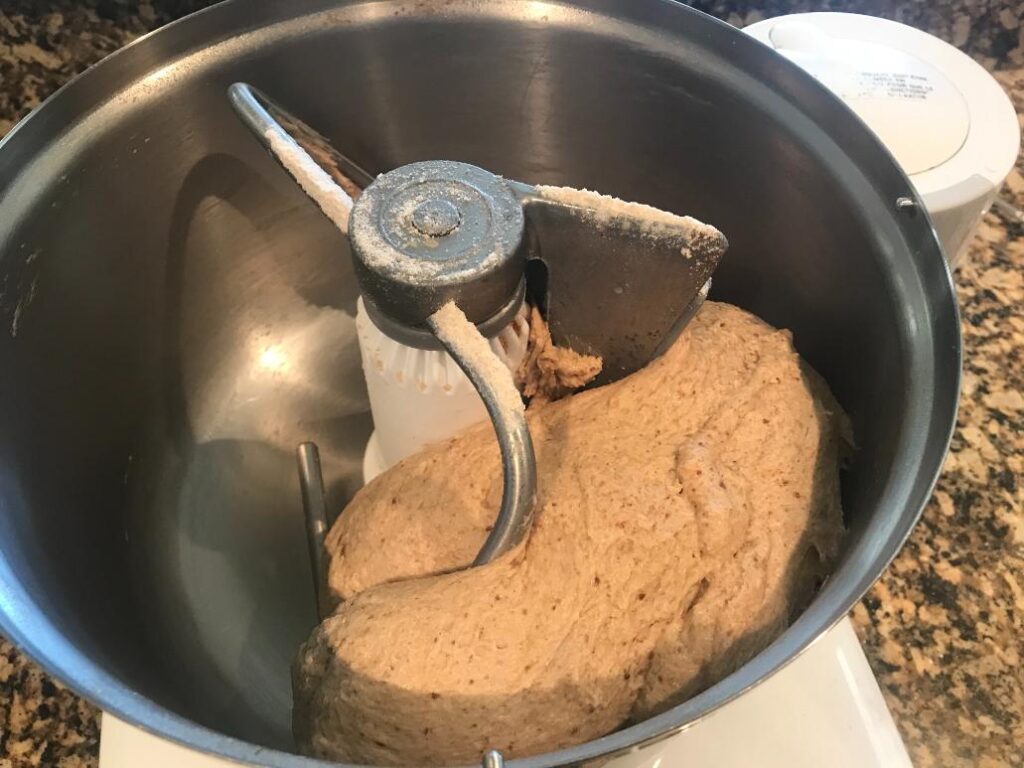
 5.  Adding Remaining Flour: Turn mixer on low; begin adding additional flour 1/2 cup at a time, allowing the dough hook to work in the flour a few turns. Continue adding flour UNTIL dough pulls away or CLEANS the side of the bowl ONE time, then STOP adding flour.

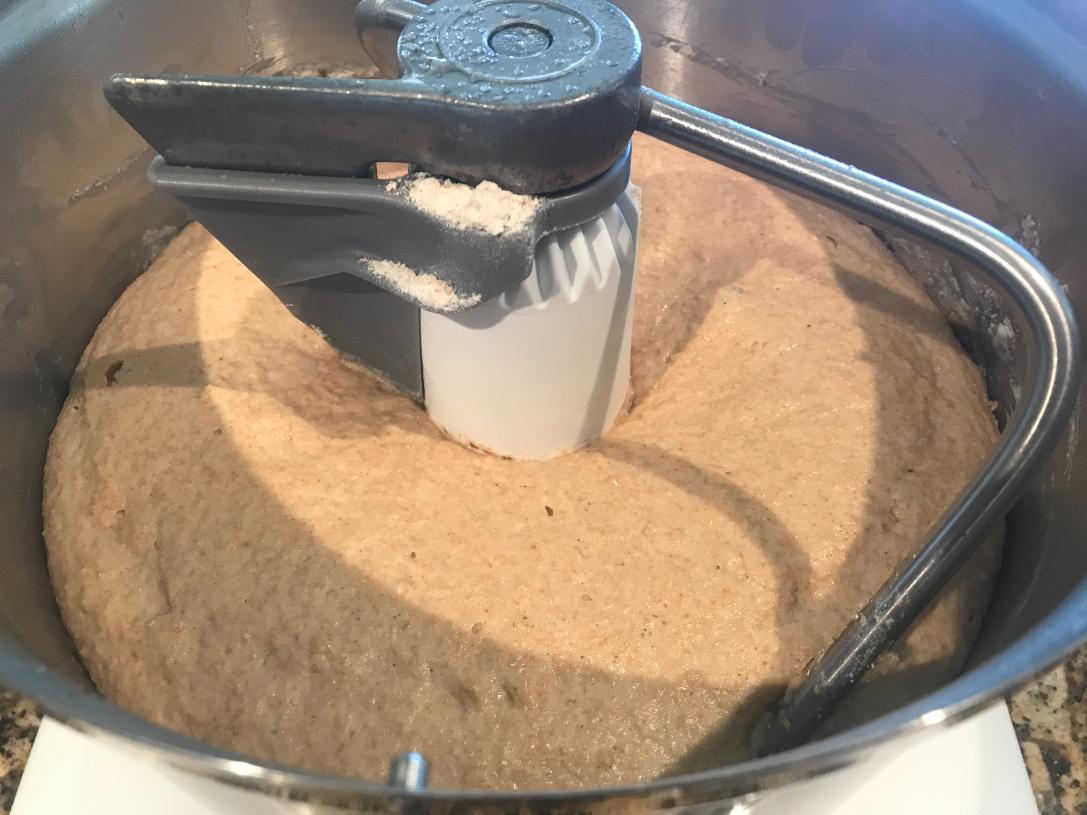
Start your timer and knead for 8 minutes. Knead until gluten is fully developed. Hand kneading may take about 10-15 minutes. 

Dough may be slightly sticky, may stick to the sides or pool at the bottom of the bowl; but, DON’T be tempted to add more flour. Just let the dough hook do it’s thing, working in all the flour.

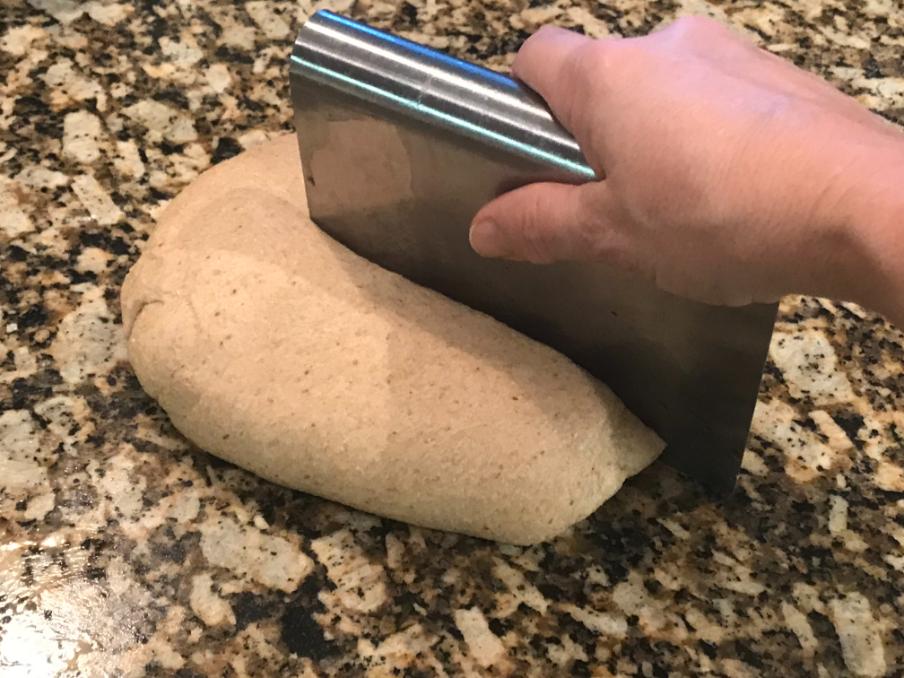
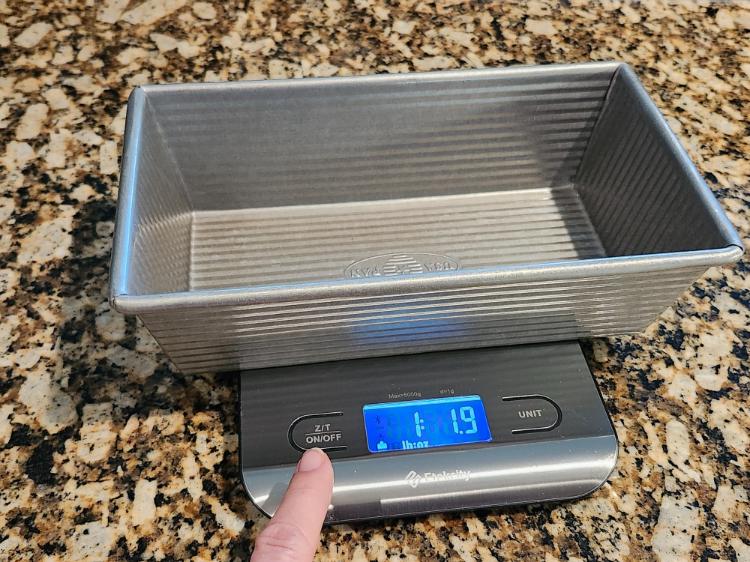
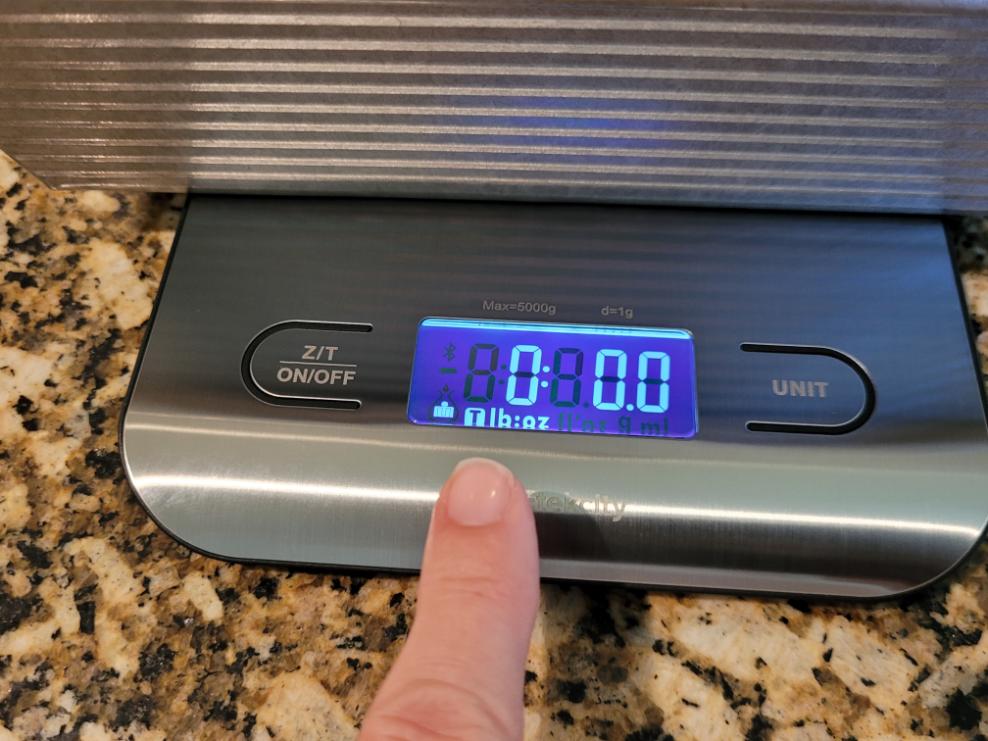
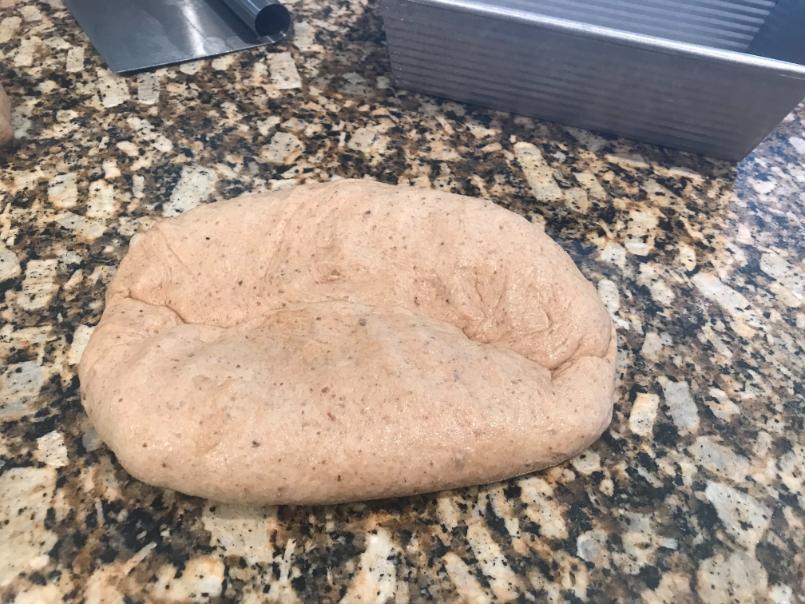
 6.  Well grease your hands, work surface and pans; olive oil will do. Remove dough from bowl and divide into equal portions and weigh:

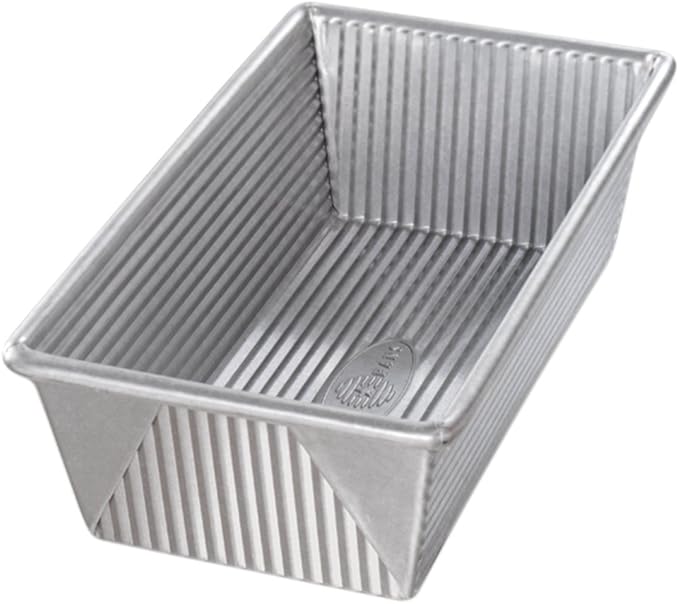
Pan Size = Dough by Weight
8.5 x 4.5 pan = 1 lb. dough
9 x 5 pan = 1 lb. 5-6 oz dough
10 x 5 = 1 lb. 8 oz dough

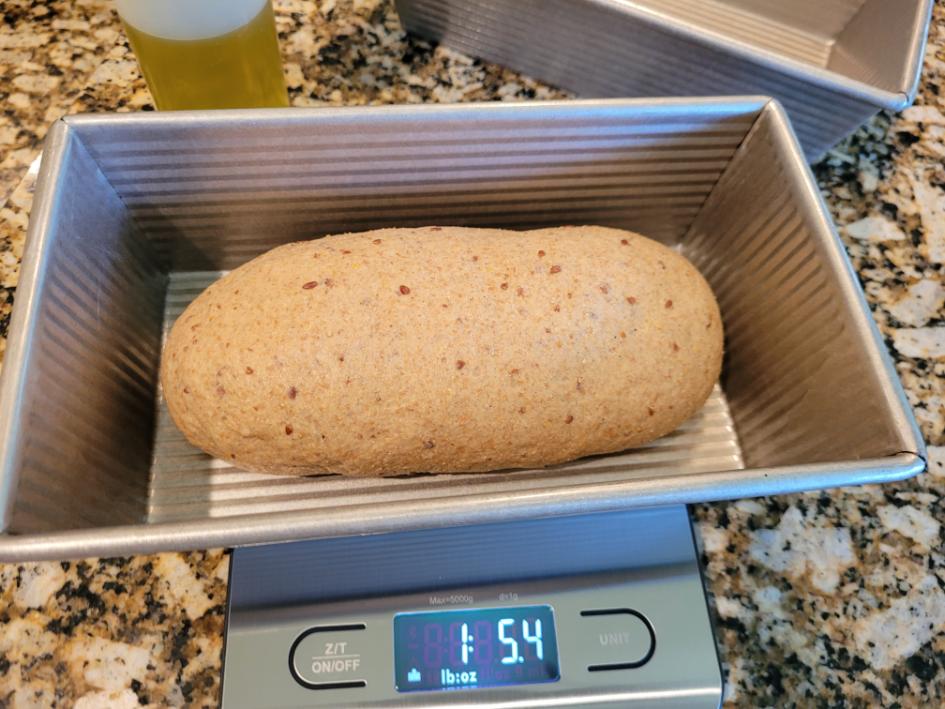
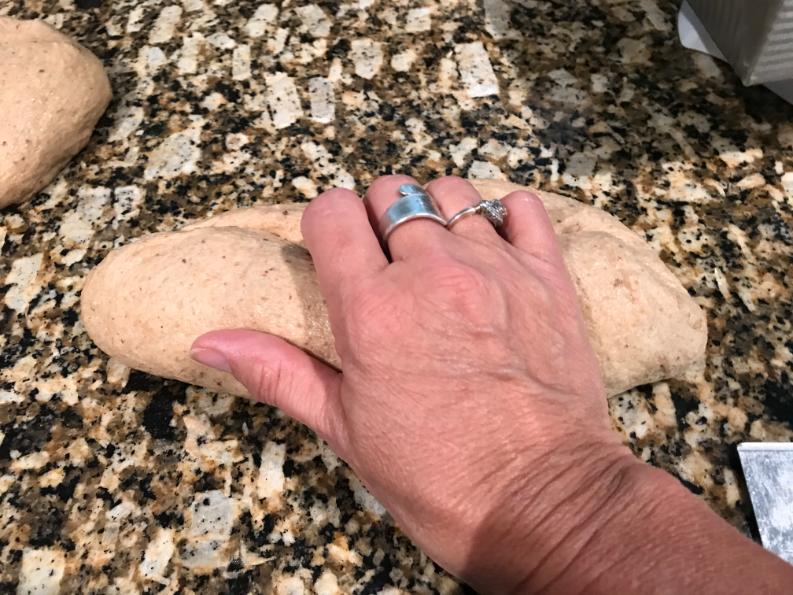
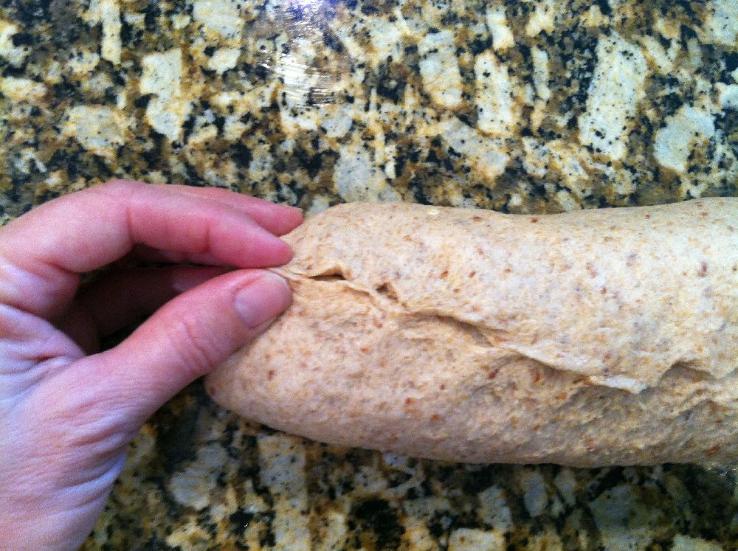
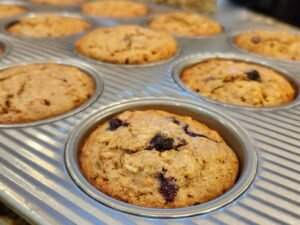
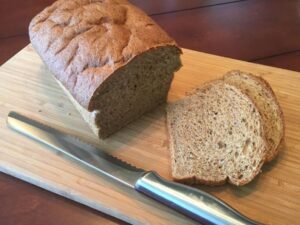
 7.  Shape into loaves and/or buns, etc..

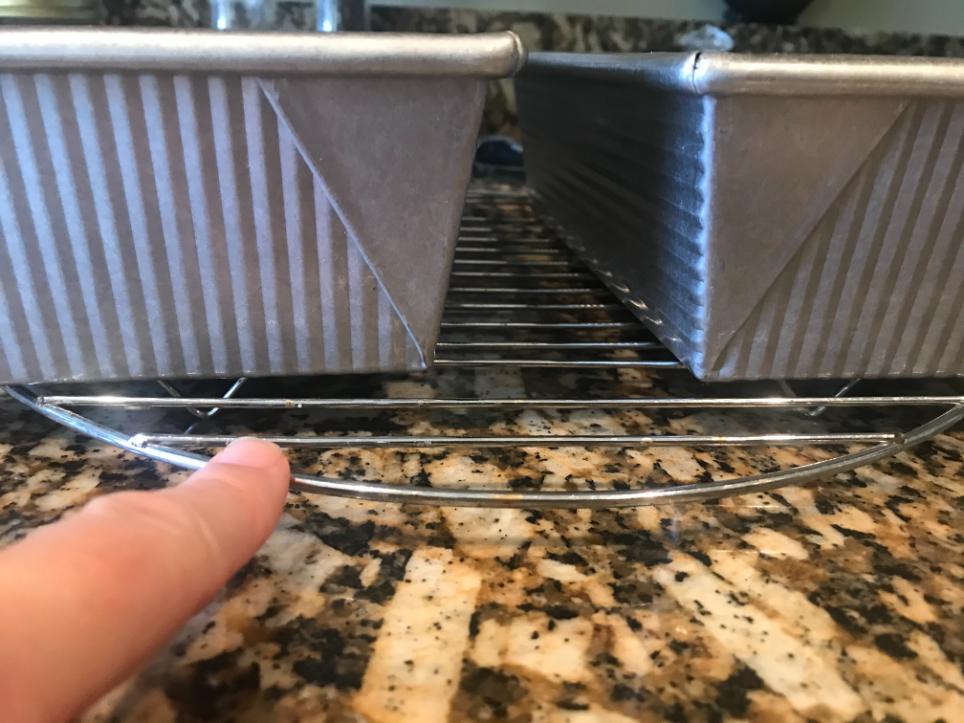
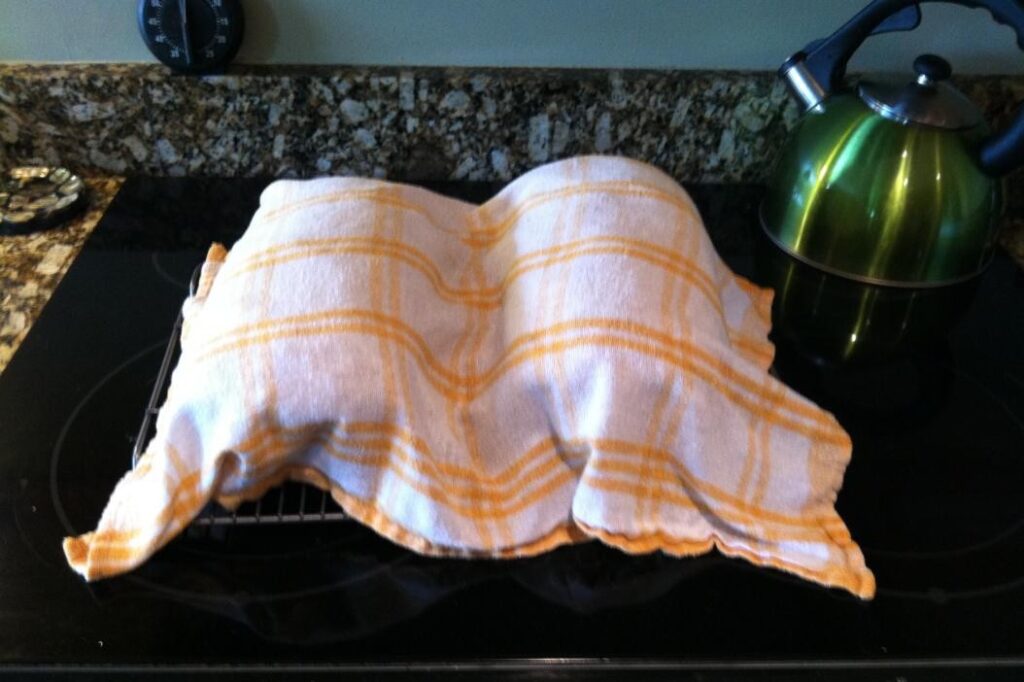
 8.  Place dough into greased pans, cover with plastic wrap or a light-weight damp towel, place pans on a cooling type rack and let rise in a warm space until doubled in size.  

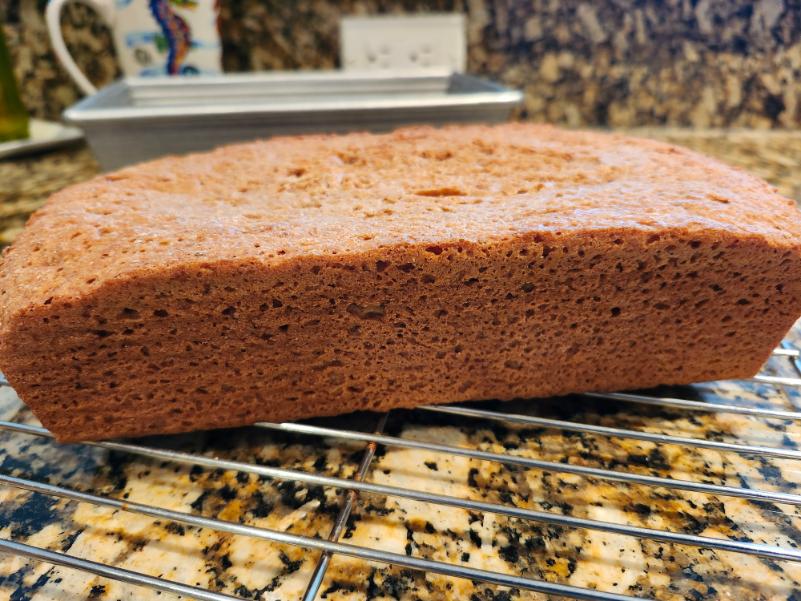
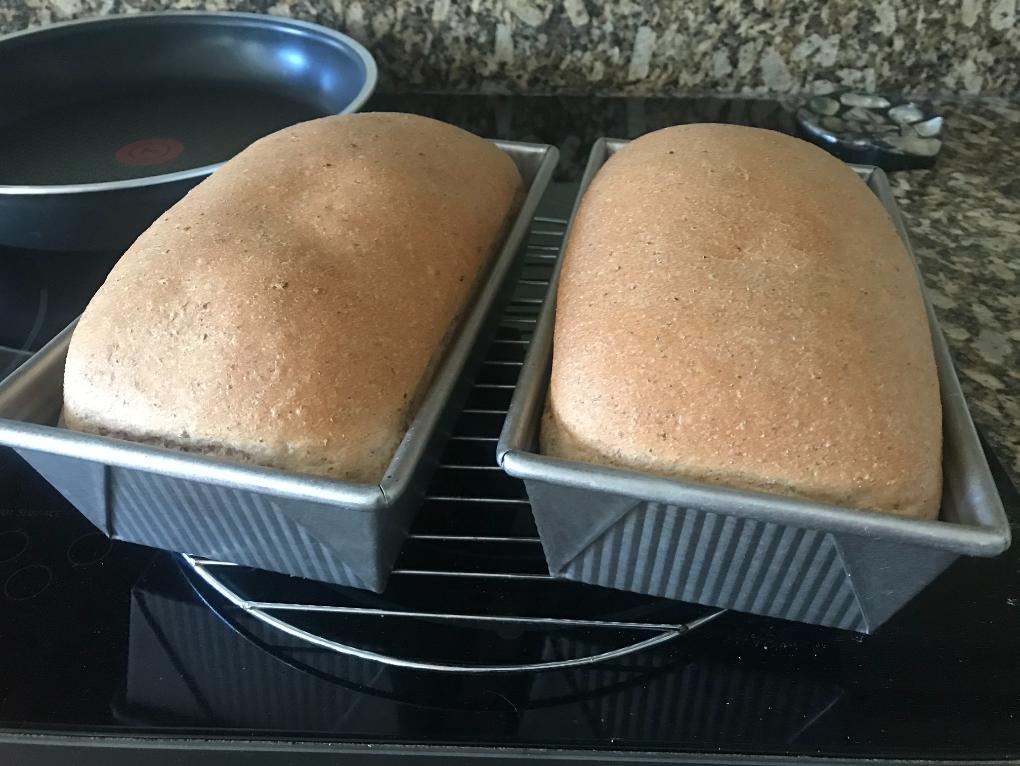
 9.  Bake at 350 degrees for 30-40 minutes or until internal temperature reaches 190-200 degrees.

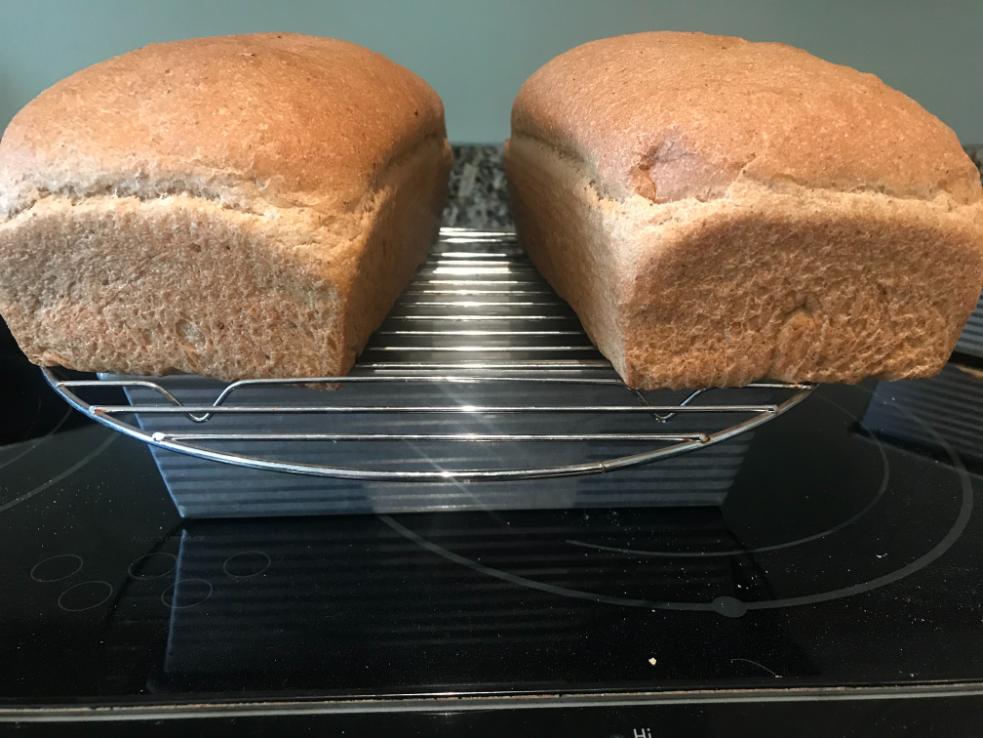
10.  Remove pans from oven, let rest on cooling rack 5-7 minutes. Remove loaf from pan and continue to cool on cooling rack. Too long in the pan and the loaf can become soggy on the bottom.

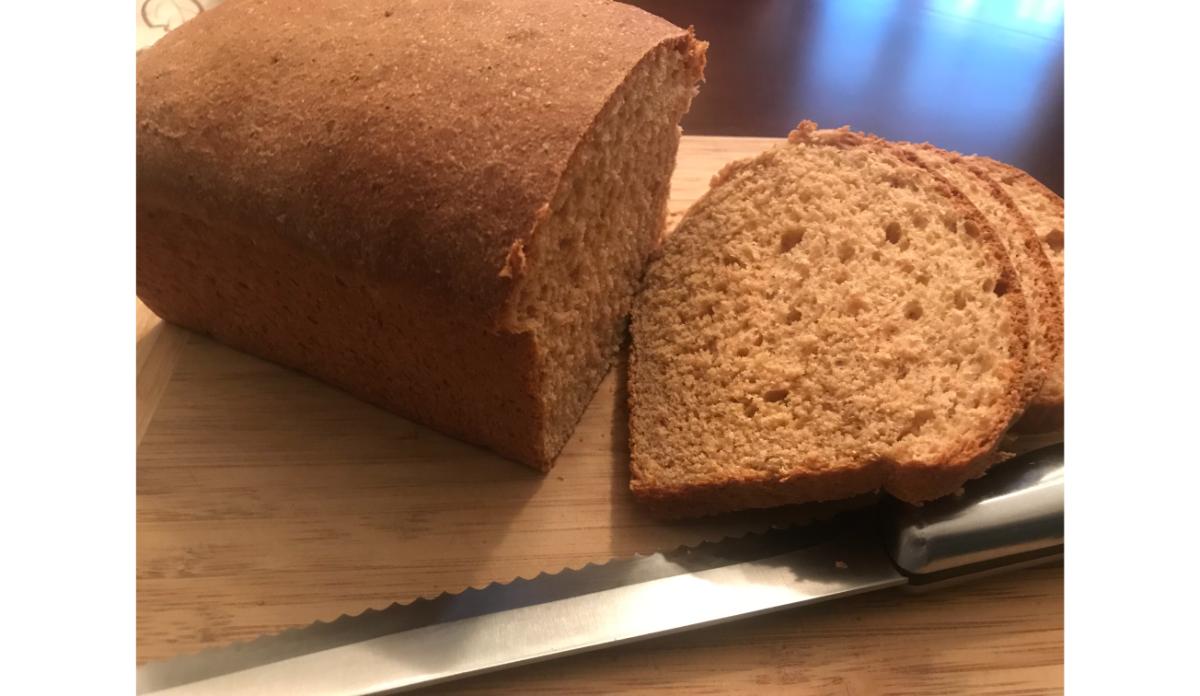
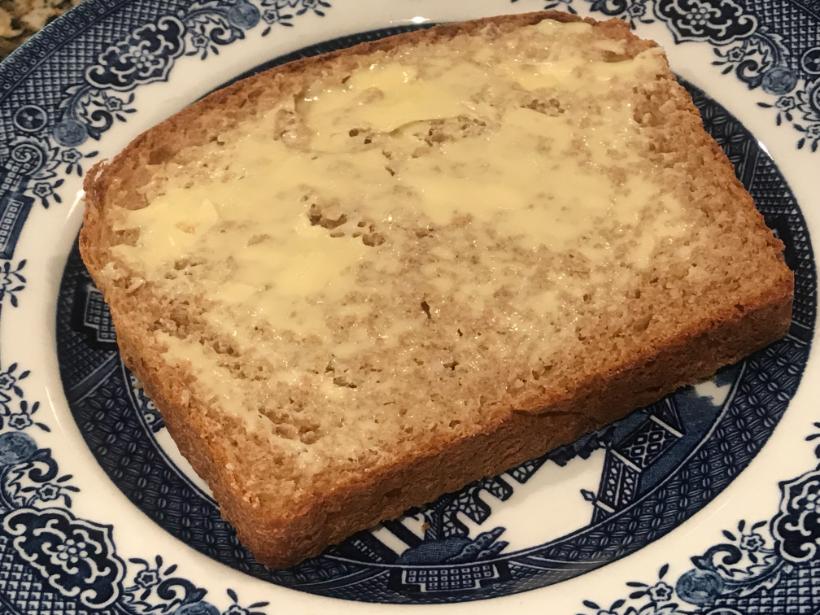
Slicing:  After cooling, turn loaf on it’s side to slice. A serrated knife works best for slicing breads.

Detailed Instructions

Mill Your Flour

Start by Milling your whole wheat grain (berries) and beans into flour.

See tip above how to calculate how much grain to mill for the flour needed. 

Remember, yeast breads using freshly milled flour may require a little more or a little less depending how much moisture is in the grain.  See Yeast Bread Tips page for more details.

Set you mill according to the mill’s instructions or medium-fine.  Pour your grains and beans in the hopper and mill away.

Look at that – Whole Grain In

Freshly Milled Wholesome Flour Out

Doesn’t get any fresher or easier than that!

Grind Your Flax Seed

Grind your flax seed in your coffee grinder or blender.   

Like flour, to benefit from all the nutrients of flax seed, it must be ground fresh every time.  Pre-ground flax seed from the store has already lost much of its nutritional value due to oxidation.  

NoteNever grind flax seed or other oily seeds or spices in your grain mill.

Krups Ultimate Super Silent Grinder
Krups Silent Grinder
Krups grinding Whole Flax Seed
Whole Brown Flax Seed
Krups ground Whole Flax Seed
Freshly Ground Brown Flax Seed

Gather & Measure Ingredients

Notice there are only a few necessary ingredients

Liquid – Sweetener – Salt – Flour – Yeast – Oil

The other ingredients are optional and simply to enhance the dough and nutrition – naturally!  

The Point:
Bread doesn’t need all those
crazy ingredients that the food industry uses to be soft and delicious!

Tracy O's Tips clipart

Gather & measure out all your ingredients before you begin

This will help alleviate forgetting something.  

I forgot the salt once; the bread had no taste and did not rise very much.  Salt is a must in bread baking.

Yeast:  Yeast is our leavening agent in this recipe.

  • Instant Yeast:  I like to use instant yeast.  One rise is typically needed; therefore, saving a lot of time.
  • Active Dry Yeast may certainly be used.  Be sure to proof it first:  In a  small bowl add 1/2 cup of the warm water, a teaspoon of your sweetener and pour the yeast on top.  No need to stir.  Allow to rest for a few minutes until bubbly; then add it to your mixer bowl.  you will also need to rise in in the bowl once, then again, in the bread pan.  Active Dry Yeast does give more flavor to the bread.

Liquid:  One liquid or a combination of the water, buttermilk, milk or other liquid may be used.  

Be sure to warm your liquid to about 110-115 degrees; not too hot, though, can kill your yeast.  Too cool and it could take longer to rise.

  • Water – Most recipes call for water, but other liquids will work as well.  Water will contribute to a chewier inside and crispier crust.
  • Milk – Milk may be substituted for some or all the water, just be sure to warm it.  Milk adds mild sweetness and lends to a softer texture and browner crust.
  • Buttermilk – As with milk, some or all the water may be substituted.  Again, remember to warm it as described above.  Buttermilk or even yogurt adds a lovely tangy flavor and will create a tender, softer texture.  If you don’t have buttermilk, simply sour sweet milk by adding 1 Tablespoon vinegar or lemon juice; stir, allow to set a few minutes to sour; then add to recipe.

Time to Mix

By Mixer

By Mixer:  In your large mixer bowl, add first 5 ingredients.  Give it all a good stir.  

Now add half the flour and sprinkle yeast on top.  So, if the recipe calls for 4-5 cups, only put in 2-1/2 cups flour and your yeast.  If 6-9 cups, add only 3-1/2 cups flour and yeast.

Stir well or Mix on low about a minute.  That dark stuff is the lecithin, just in case you were wondering.  

By Hand

By Hand:  If you are working by hand, no problem, simply divide as above, then mix with a sturdy wooden spoon.  

Mixing Ingredients
Flour & Yeast on top
Cover to Sponge
Cover & Let Rest/Sponge

Allow Flour Time to Hydrate

Tracy O's Tips clipart

After mixing this liquid and half portion of flour, cover your bowl with a lightly dampened towel or plastic wrap.  Allow to rest or “sponge” for about 10-15 minutes.  This gives the flour time to absorb the moisture

I learned this trick years ago and it has helped so much with the softness of my fresh milled flour breads.

Moisture is the key!

Cover to Sponge
Sponged Dough
Sponged Dough
Sponged Dough
Checking Sponged Dough with a spatula
See how it looks spongy

Prepare Your Pans

Prepare your baking pan(s):  Grease with butter, olive oil or coconut oil.  Set aside till needed.

Adding Remaining Flour & Kneading

Whole grain recipes many times will give a flour-needed range (6-9 cups).  

Again, because the moisture in the grain itself can vary; therefore, the amount of flour actually required can also vary.  

And since we don’t know the moisture level of our grain we are going to add the remaining flour a little at a time, so as to not over-add.

Tracy O's Tips clipart

Moisture plays a huge role in the bread-making process.  When working with fresh milled flour you really don’t know how much moisture is in the grain.  The amount of moisture in the grain will affect the liquid to dry ingredients ratio

In other words, if the grain was grown during a dry season, not much rain-fall, then the grain will not have much moisture within, so when the liquids are added to the flour, the flour will absorb more of the liquids than it would if grown in a wet season.  

By allowing the dough to rest a bit before kneading gives the flour time to absorb some moisture to help produce a soft bread product.  Otherwise, your bread may come out dry and crumbly.

See Tips for Making Bread for more details.

After sponging, turn your mixer on low:


 – Add the oil and flax seed.

 – Start adding flour, 1/2 cup at a time.   

 – Let the dough hook work that flour in a few turns.

 – Keep adding flour a little at a time – UNTIL  the dough CLEANS the SIDES of the bowl one time.

 – Then STOP adding flour

Your dough will be slightly stickySee my Brick Bread tip below.

It is better to error on the side of sticky, than too dry!

 – Start your timer – knead for about 8-9 minutes or so to fully develop the gluten.  

By hand:  Stir in as much flour as you can stir by spoon, then work in with your hands enough flour for a sticky dough.  

Kneading by hand:  Have a 1/2 cup flour on your work surface and hands, pour out your dough.  Work in that flour, then add small amounts more as you go until the dough starts coming together.  Stop adding flour and start kneading; it may take about 10-15 minutes or so to develop the gluten.  

Next step:  Forming the Dough.

Brick Bread

Whole grain flours can soak up a lot of moisture during the sponging and kneading time.

DO NOT be deceived by the dough sticking back on the sides or pooling at the bottom of your mixer bowl.  The dough should be soft and slightly sticky.   

Adding too much flour will cause your loaf to be heavy and dense; producing what I call “brick bread”.  It is always better to error on the side of sticky.  More flour is easily added on the counter; more liquid, not so much.

Look how clean that is.  If yours looks a little shaggy, that’s OK.  

A mixer, just  does, make bread-making-life easier!

Kneaded Bread Dough in mixer bowl

Weighing Your Dough

Before you form your loaves, you will need to divide and weigh them.

Pour a little olive oil on your countertop

With some water or oil on your hands remove the dough from the bowl and place on your prepared work surface.

Use oil as long as the dough holds shape when you get it on the counter; you are good to to.  If not, simply work in a little more flour.

Oil on Counter
Tracy O's Tips clipart
  • Try not to use flour on your work surface unless the dough is extremely sticky.  Remember, using flour adds more dry back to your dough and can make the loaf heavy and dense.
  • Use a dough cutter or sharp knife to cut divide the dough.  Dough prefers to be cut vs torn.
  • When baking multiple loaves at the same time; it is best if all the loaves weigh the same for even baking so we will be weighing them.

Divide the Dough

Divide your dough into however many loaves you are making by using a dough cutter or sharp knife.

Weigh the Dough

Weigh the doughDifferent size bread pans require different amounts of dough.  So, weigh dough portion for the size loaf pan you have.  It doesn’t have to be exact, but try to get close.  I use a digital kitchen scale for best results.     See below

Pan 8.5″ x 4.5″ = 1 lb dough

Pan 9″ x 5″ = 1 lb 5 oz  (Sandwich size)

Pan 10″ x 5″ = 1 lb 12 oz  (Family sandwich size)

Why weigh your dough?
🍞  Too much dough, the dough can rise outside the pan
🍞  Too little dough, the loaf can be squatty.  
🍞  Not to mention, if you are baking multiple loaves at one time they all should weigh the same to cook evenly.

Calibrate your Scale & Pan

Calibrate your scale and bread pan:  Place your bread pan on a kitchen scale, press the on/start button.  The weight should read ‘zero’.  This removes the weight of the pan and will only figure the weight of the dough.

Place a portion(s) of dough in the pan until it reads the necessary amount.

Dividing Dough with a dough cutter
Bread Pan on scale
Bread Pan Calibration
Weighing Bread Dough
Tracy O's Tips clipart

White Flour vs Fresh Milled Flour Weights

Remember, white flour from the store has had the oil, germ, middlings, and bran taken out.  So, because all these components are still present in fresh ground flour, the dough will weigh differently than when using white flour

Those components make a slightly heavier dough.  This is also reflective of the liquid to dry ratio; another words – how much liquid the flour absorbs.  

Therefore, the ‘3 lbs’ dough could be a little over or a little under in total produced dough.  There is no exact with fresh milled flour doughs.  So, weigh your dough for your perspective loaf pan.

Form the Dough

Now you have prepared your bread pans and have weighed each loaf portion

With oil on hands and work surface, hand knead a loaf portion a few turns, folding a side toward the inside, then press with the heal of your handTurn the dough a 1/4 turn and repeat until you have done all four sides-ish.  

Now, with your hands pat the dough in a slight square the width of your pan.

Start on one end and roll the dough up tightly like a sleeping bag.

Pinch the seam together.

Fold under the ends

Continue to shape the dough into a nice smooth loaf shape.  Tucking the ends under as you go.

Place the dough loaf into your bread pan.

Cover with plastic wrap or a light, slightly damp kitchen towel.

See next section for rising insturctions.

Pat Dough into a Square Shape
Pinching seam loaf bread dough
Formed bread loaf in loaf pan

Rising the Dough

Cover your bread pans with plastic wrap or a light damp kitchen towel.  Allow dough to rise in a warm, draft-free location:  on the counter, in the microwave, or in the oven with just the light on.  

Rise dough until double, about 30 minutes to and hour or more.  The warmth of the space will dictate how long.

Note:  Don’t over-rise your loaves; too tall, they can fall during baking or simply be floppy when sliced.

Tracy O's Tips clipart

If rising dough on a stone type counter, be sure to elevate the pan on a rack of some sort.  Because most stone counter surfaces are naturally cool, the top of the dough may rise leaving the lower part dense.  So, the key is to have circulation all the way around your pan.

Plastic Covered Loaf Pans
Bread pans covered with plastic wrap
Covered bread pans elevated for circulation

Preheat Oven

Bread likes a hot oven.  When the heat hits the dough the dough will spring up/rise some more while it bakes.

Preheat oven when the dough reaches the top of the pan
350 degrees (375 if baking 3 or more loaves)

If you pans are rising in the oven – gently take them out and set them on a rack to finish rising while the oven heats.

Plastic Wrap Covered Prepared Loaf Pans

Baking

When your oven has reached temp, remove pan covering and place in the preheated oven.  Preferably in the center of the oven.

Bake for 30-40 minutes; or until internal temperature is at least 190 degrees.  If the bread is getting too dark on top, simply cover with foil lightly to finish baking.

Remove baked loaf pans from the oven and allow to cool on a cooling rack for about 5-7 minutes.  Much longer and the bread can become soggy.

After the short cooling time, remove baked loaves from the pans, place on cooling rack and cool completely.

You may be tempted to slice that bad boy while it’s warm, but try to resist the urge.  The bread is finishing is baking process and closing the fibers inside the crust.  Plus, frankly, it’s challenging to slice when warm. 

Tracy O's Tips clipart

For a softer crust, as soon as you remove pans from oven, cover with a lightly damp towel. 

Continue to cover after you have removed loaves from their pans.

Delicious, 100% Whole Wheat Bread
that is sooooo good for you!
Yes, it is slathered with butter. 😍

Butter Slice of Bread

Cool completely before storingBread made from freshly milled whole grains have a limited counter-storage time.  Depending on your environment, it may keep 3-4 days on the counter or in a bread box.  Lightly wrap in a dense kitchen towel, bread bag or plastic wrap.  I find that using zip-top plastic bags are too dense and tend to cause my bread to mold within a couple of days.  Storing in the refrigerator will lend to staleness, so I avoid that.

Long-term Storage:  Baked goods made with fresh milled flour freeze beautifully.  Cool completely.  Slice first if desired.  Place in freezer zip-top bag, plastic bread bag or wrap several times with plastic wrap and freeze up to a month.  For best results, freeze the same day baked.  Thaw in bag/wrapping, elevated on a cooling rack.  Again, fresh bread is only good for a few days.  So, eat up or freeze it!

Other Dough Uses:  Dinner Rolls, Hoagie Rolls, Hamburger Buns, Hot Dog Buns, Cinnamon Rolls and much more.

More Info
Bread Making Tips
Healthy Ingredients
Getting Started Milling

Are you ready?

To learn all the details you need to start milling your own fresh flours and corn meals, click the link below.

Start Milling

Your Own Grains, Corn & Beans TODAY
START TODAY

Let us know in the comments any tips and tricks you have for making fresh milled flour yeast bread.

Latest Recipes

Leave a Comment

Your email address will not be published. Required fields are marked *


Tracy O

About Me

I love to laugh, eat good food,  and spend lots of time outdoors.  My passion is baking bread using freshly milled flour.

Start Milling

Your Own Grains, Corn & Beans TODAY
START TODAY
Scroll to Top