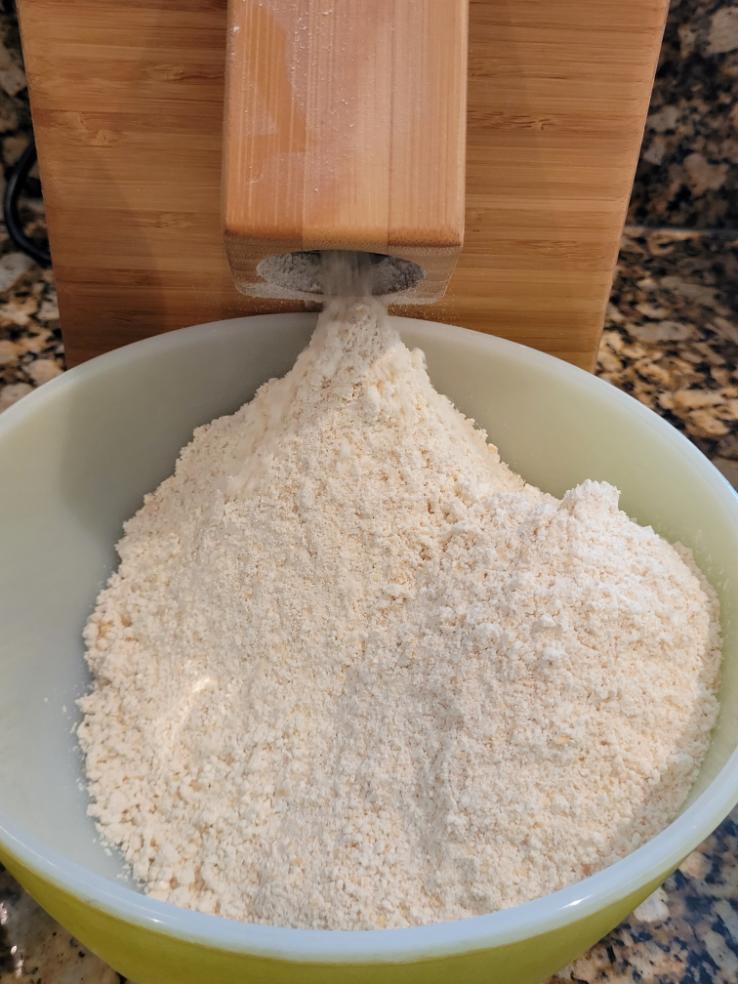
Milling fresh wholesome full of nutrition flour is so simple!
Pour the grains in; out come beautiful fresh milled flour.
Milling grains only requires two things:
A Grain Mill
Whole Grains, Corn or Beans
In this article I will walk you through how to mill your whole grains, corn and dried beans. So, get out your grain mill and grains so you can follow along with me and see how simple it is.
Happy Milling 😊
Freshly Milled Flour Nutrition
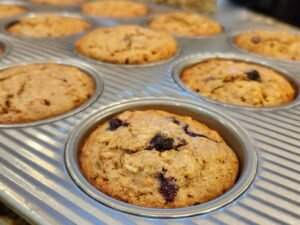
Whole grain flours have their highest nutrition at the time of milling. Once milled, the beautiful vitamins in the freshly milled flour will soon oxidize away after approximately 72 hours. Therefore, it is best to use the flour soon after milling to take advantage of its nutritional bounty.
Actually, that’s the whole point Fresh – Fresh – Fresh
Also, keep in mind, freshly milled flour can not sit in your pantry for a long period of time. It will go rancid due to the oils and germ still being present.
What You Need
Milling Grains only requires two things:
1. A Grain Mill 2. Whole Grains, Corn or Beans
Use code: BREADROOTS at checkout
Affiliate links throughout this site
Grain Mill
I began milling back in 2008. After much research I chose the NutriMill Classic Grain Mill. I have been using and recommending it ever since.
Step 1: With a very lightly water dampened soft cloth, wipe the outer parts only of your mill.
Note: Remember, water and flour make paste. So, NO WATER should really every have to come in contact with the inside of your grain mill; that includes the hopper. If the inside needs to be wiped out, only use a very lightly water (no chemicals) dampened cloth and allow ALL parts to dry completely before use.
Step 2: For new grain mills, to make sure your mill is clean on the inside from the manufacturing process, simply mill 1-2 cups plain white rice; then discard it.
Cleaning your mill:
Technically, your grain mill should not need to be ‘cleaned’ because the only thing going in it is DRY grains, corn and beans.
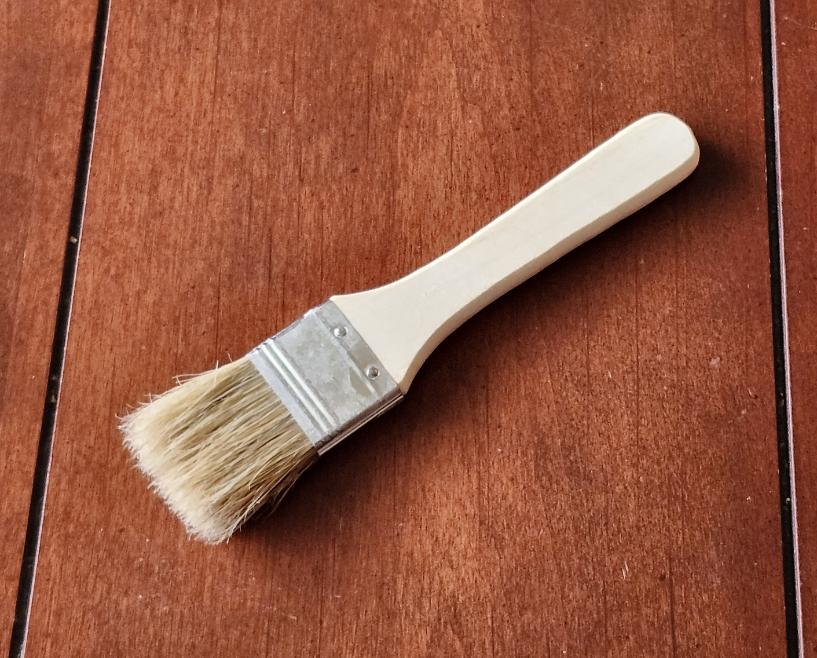
To help get all the flour out of your bowl or container, I recommend getting a natural bristle, usually hog hair, brush. You can find them in the paint section.
Keep it with your mill.
1 or 2 inch brush will do.
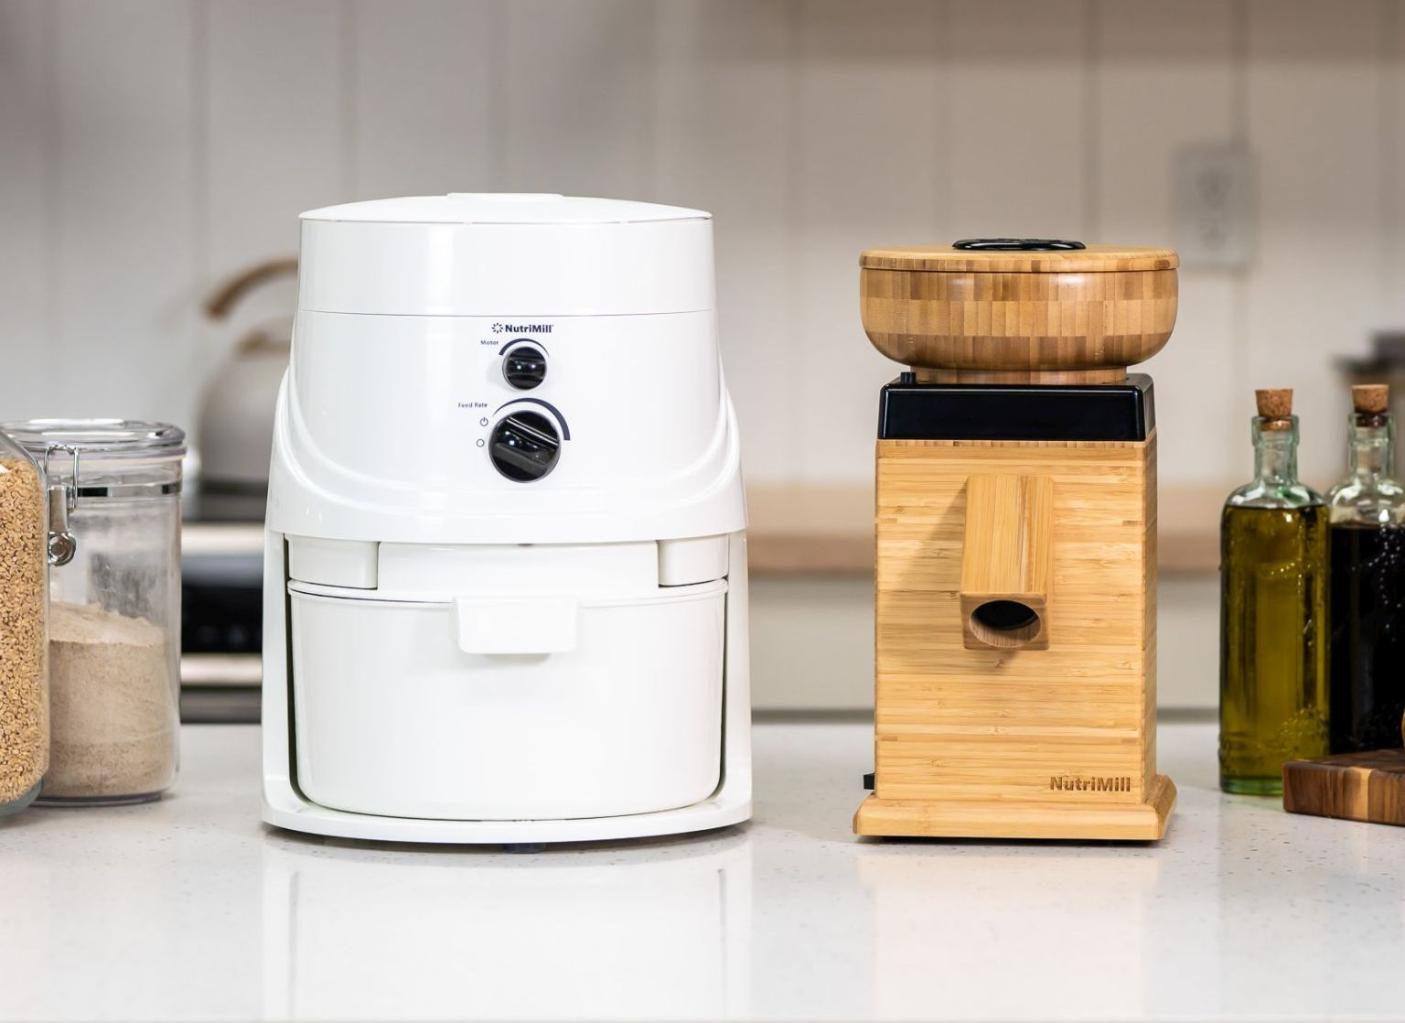
Grain Mill Attributes
NutriMill Harvest Grain Mill
NutriMill Classic Grain Mill
NutriMill Impact Grain Mill
Each grain mill will have a:
Hopper – where the grain goes
Flour Container or Exit Spout – where the flour comes out
Hopper:
The hopper is where you will pour in the grain to be milled. It is typically located at the top of the mill.
Flour Container or Spout:
The flour during the milling process will either go into a container attached to the mill or out a spout into a separate bowl. For spout type mills, be sure to have a bowl placed under the spout to catch the milled flour before turning on the mill.
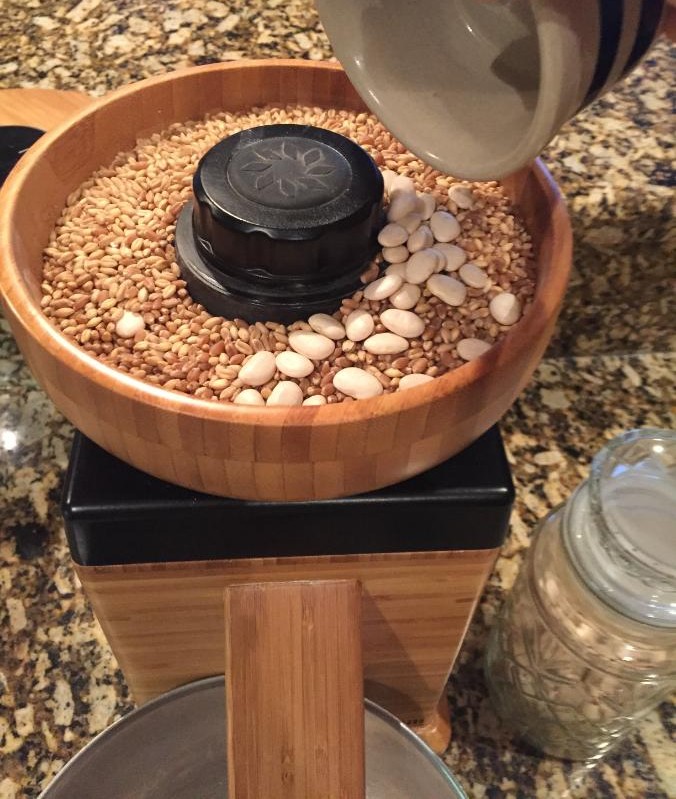
Having your grain pre-measured and ready to pour into the hopper is helpful.
Does your mill need to be running before pouring the grain into the hopper?
Some grain mills are required to be on or running before pouring the grain into the hopper and some do not.
The NutriMill Harvest Mill and Impact Mill must be on first; however, the Classic Mill does not. Review your particular grain mill’s manual for these instructions; it is important.
Milling Fine/Coarse Setting:
Most grain mills must be turned on before the milling fine/coarseness can be set.
Fine: Quick breads, pasty, pasta
Med-Fine: Yeast breads, bean flour
Coarse: Corn meal
Cracked: Cereals
Per your mill’s instructions, turn on/or not your mill and pour your grain, corn or beans into the hopper. Set the fine/coarseness of the desired grind.
Click this link to check out the different grain mill options: Grain Mills
How Much Grain to Mill?
You will need to calculate how much flour you need. It’s simple.
Divide number of cups of flour needed in your recipe by 1.5 (one point five). Example: 4 cups flour needed divided by 1.5 4 ÷ 1.5 = 2.66 cups grain needed (2-1/2 cups)
1 cup grain will produce approx. 1-1/2 cups flour, depending on the fineness or coarseness. – Fine milling will produce more flour -Coarse milling will produce less flour/meal
Keeping in mind, when working with freshly milled whole grain flour, you may need a little more or a little less flour in your recipe.
Any extra flour, simply keep in an air-tight container in the freezer until next time.
Milling Corn & Beans
Milling corn and beans uses the same process as milling the grains. The only difference is you may need to adjust the milling fine/coarseness control for the desired texture and for larger pieces to go into the hopper-feed to the milling plates.
Cornbread made from freshly milled corn is so delicious!
Power-up your baked goods by adding some beans in with your grain when you mill. You won’t taste them once baked.
Also, bean flour makes a great thickener for gravies and such.
Fresh cornmeal
Storing Freshly Milled Flour
Because of the oxidation process the vitamins in freshly milled flour will be soon lost, even if stored in the freezer.
It’s like putting a banana in the freezer. It’s still going to turn black. That’s oxidation.
So, if you do need to store freshly milled flour, place it in a freezer container or bag and squeeze out as much air as possible.
Even though it will lose some nutrition it is still hands-down better than the dead flour on the grocery shelf.
Easy Peasy!
That’s it! See, there’s really nothing to milling your own full of nutrition fresh whole grains, corn and beans.