Home > Milling Grains > Getting Started Milling Whole Grains, Corn & Beans
It's Simple to Make the Switch
There are only a few things needed to get started milling your own whole grains, corn and beans:
- Grain Mill
- Whole Grains, Corn or Beans
- And just few extras
The sections below will take you step by step for everything you need to mill fresh whole grain flours and meals.
Happy Milling 😊
Affiliate links throughout this site
Table of Contents
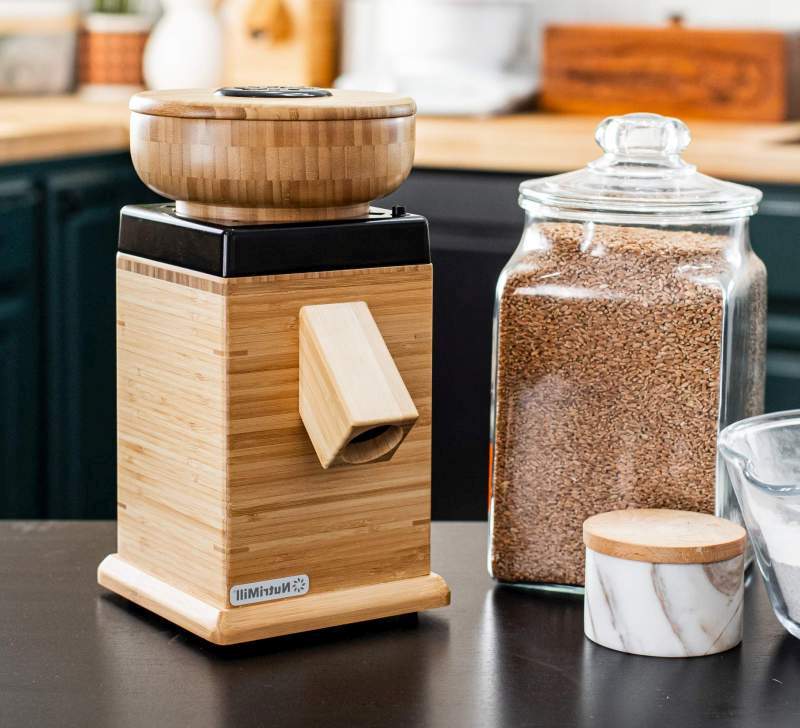
Step 1: You need a Grain Mill
Getting started milling whole grains, corn and beans starts with having a
Home Grain Mill
A home grain mill sits on your counter and grinds whole grains, corn and beans into beautiful fresh nutritious flour in the comfort of your own kitchen whenever you need it.
Simply pour the grain, corn or beans into the hopper, choose how fine or coarse you desire, and
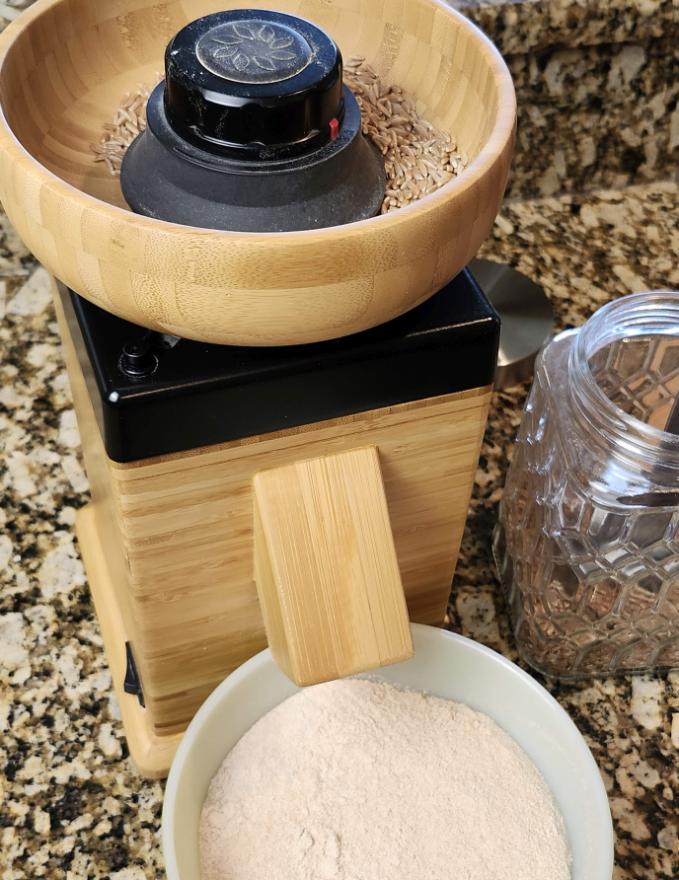
Voila – Fresh Flour!
Doesn't get any easier or nutritious than that!
So, What grain mill do I choose?
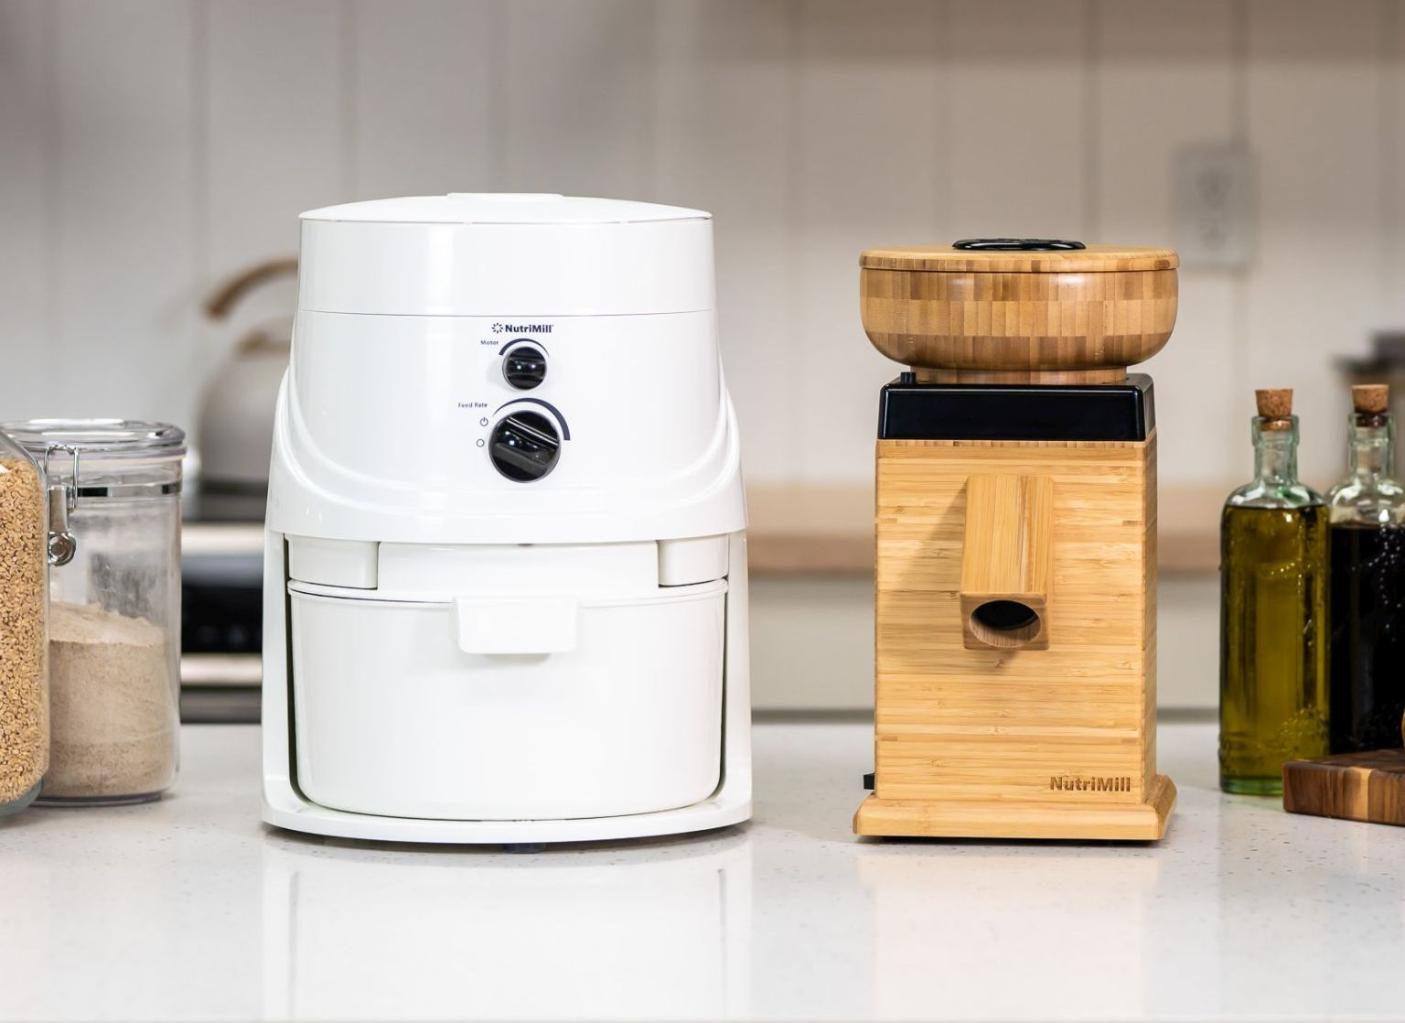
After much research and experience, I chose
NutriMill Grain Mills
Their family of mills are work-horse durable and super easy to use
Click the links below to choose the mill that’s best for you:
NutriMill Classic – Simple One-Unit Design
NutriMill Harvest – Beautiful & Convenient
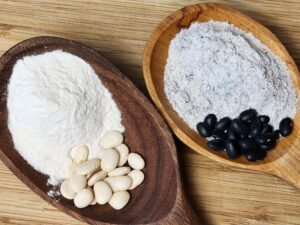
Step 2: You need Grain
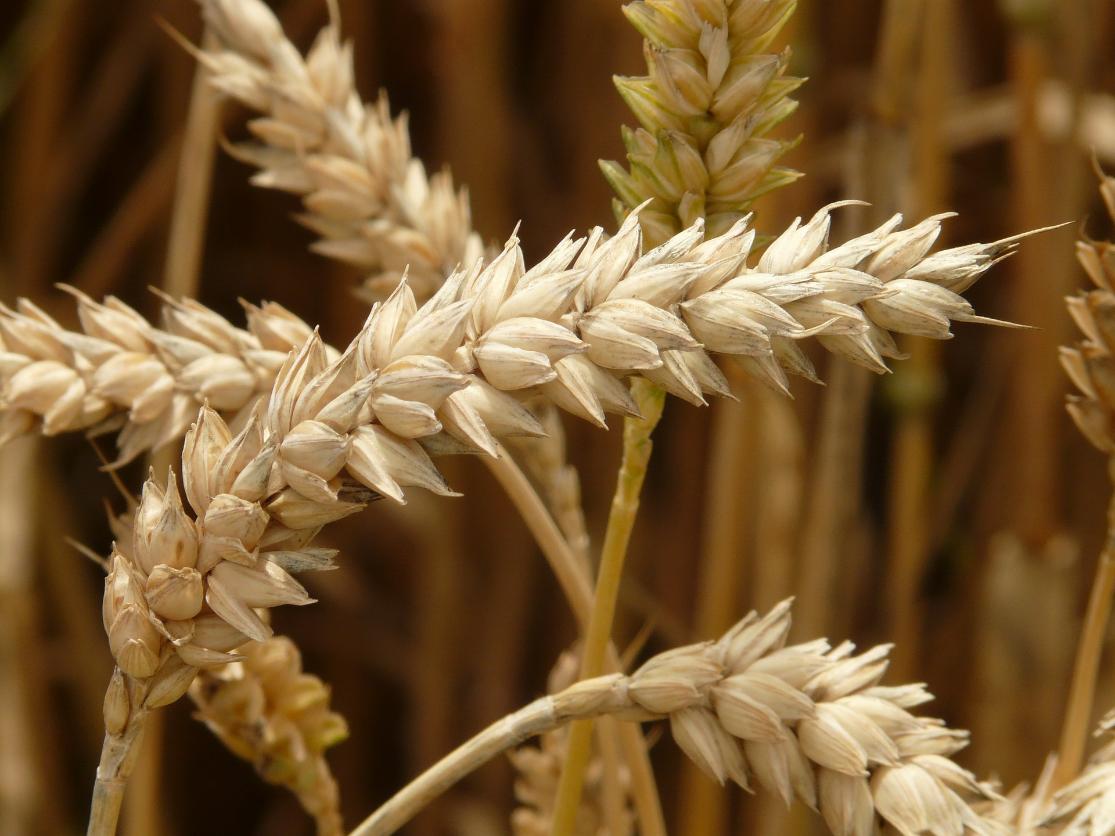
Whole Grains
Whole grains are just that, the whole grain, nothing added, nothing taken away. They are the seed of the wheat or other grain plant.
Whole grains, especially wheat, can go by many different names: whole grain wheat, wheat berries, wheat kernels, wheat seeds.
There are also many different grains: hard wheats, soft wheats, antient grains, seeds, and corn just to name a few. The individual grains will be discussed in other posts including gluten free grains.
There are many grains from which to choose:
Heard wheat
Soft wheat
Rye
Duram
Barley
Oat groats
Buckwheat
Corn
Rice
Ancient grains:
Spelt
Emmer
Einkorn
Quinoa
Farro
Amaranth
Millet
Milo, Sorghum
Teff
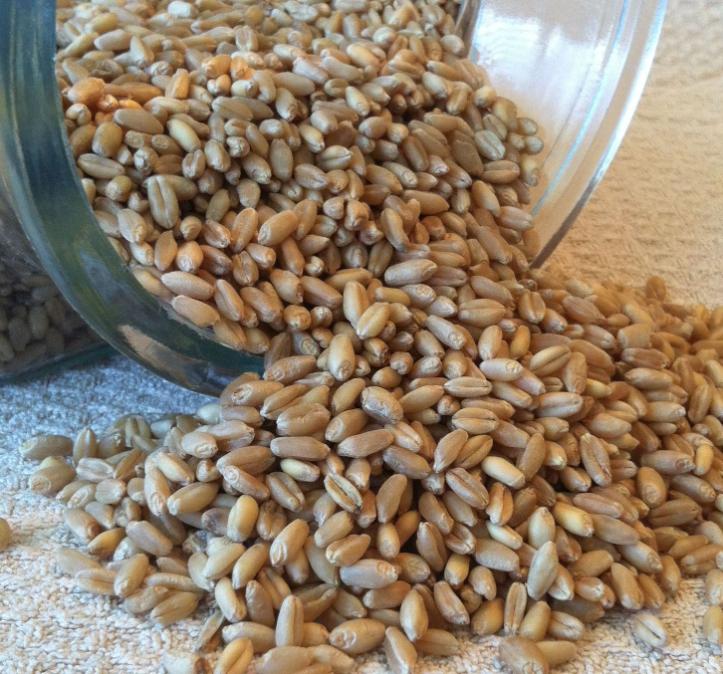
I recommend starting with:
Hard White Wheat and
Hard Red Wheat
Hard White Wheat has a mild flavor, similar to store-bought white bread. I like to use HW when making flavored breads: garlic bread, cinnamon rolls, etc.
Hard Red Wheat has a nutty, heartier flavor, more of a ‘wheat’ bread taste.
For most of my bread baking, loaf bread, dinner rolls, English muffins, I use half & half of HW and HR wheats.
Experiment with both to find what you and your family prefer.
Then venture out to the other grains.
But for now, we will focus mainly on wheat. Let’s work on the basics to get you started milling whole grains.
Where to buy whole grains
Food Co-ops are the most budget friendly source.
Health Food Stores: Depending on where you life, some health food stores have in stock the wheat berries.
Grain Distributor: Lucky you if you are able to access one. Pricing is pretty good, no shipping cost involved.
Online: Of course online, but many times the sipping can be pricy.
One such food co-op: AzureStandard.com. Azure Standard offers drops all over the country. Simply give them a call or check their map for a drop location near you.
Amazon is of course another option. I recommend, however, to only order organic whole grains if possible.
Please read through my page:
Buying & Storing Grains, Corn & Beans
for complete details.
Step 3: Other Get-Started Items
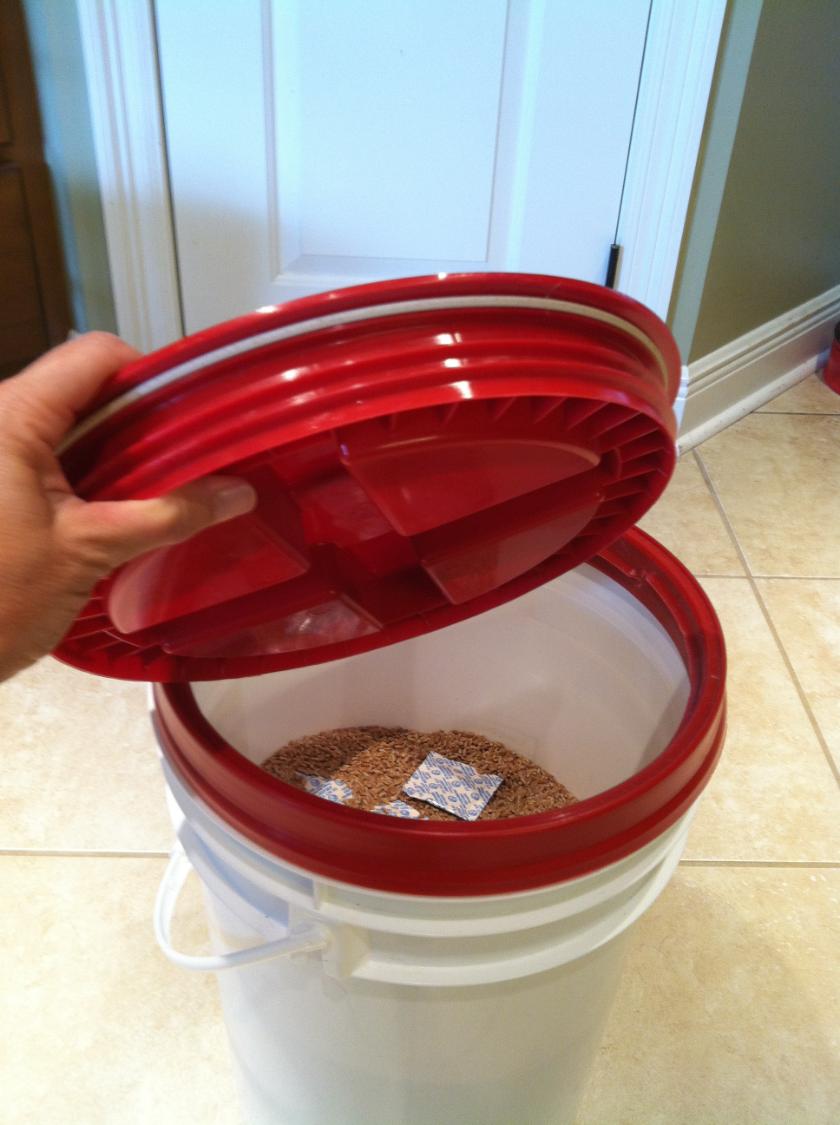
Grain Storage
Food Grade Bucket/Pail: You will need something air and moisture tight to store your grain.
Gamma Lid: Gamma Lids are a special type of ring and screw-type lid with rubber seals which fit on the buckets/pails. This type of lid allows you access to your grain easily.
Again, please read through:
Buying & Storing Grains, Corn & Beans
To Make Yeast Breads You Will Need
Yeast: Instant Yeast or Dry Active Yeast
Instant Yeast: My preference is instant yeast because you don’t have to proof it first. (You know, mix it with warm water and a little sugar and wait for it to bubble.) Instant yeast you just throw it in and get to mixing. I like simple!
Dry Active Yeast: Dry active yeast requires proofing first to see if it is still active and usually needs tow rises. However, dry active yeast infuses more yeasty flavor due to the longer rising times.
Other Ingredients & Items
Salt – Redmond Real Salt, Pink Himalayan Salt, or Celtic Sea Salt: Salt is needed for proper rising of the dough. You want to choose a totally unprocessed salt which still contains all its trace minerals and nutritional components.
Sweetener: Not much is required, but a sugar-type sweetener is needed to activate the yeast. Raw Honey, Raw Sugar (dehydrated cane juice) or Sucanat (sugar cane natural) are the best choices.
Oil: Preferred clean oils – Extra Virgin Olive Oil or Coconut Oil (virgin or expeller-pressed).
Gluten: Wheat naturally contains gluten, but sometimes you need a little help. Gluten is the stretchy stuff that helps the yeast bread to rise. It is totally optional, but in a humid environment it can come in handy. We are only talking only a little, a teaspoon per four cups of flour, not tones like they put in commercial products. No wonder we have a ‘gluten’ problem in this country!
Bread Pan: Free-formed loaves are great. But, to make sandwich loaves you will need a bread loaf pan. My favorite pans are the 9″x5″ USA silicone covered loaf pans. Stone, glass, cast iron or stainless steel are great too.
More detailed information may be found on these pages:
Buying & Storing Grains, Corn & Beans
Healthy Ingredients
Please read through my page:
Buying & Storing Grains, Corn & Beans
for complete details.
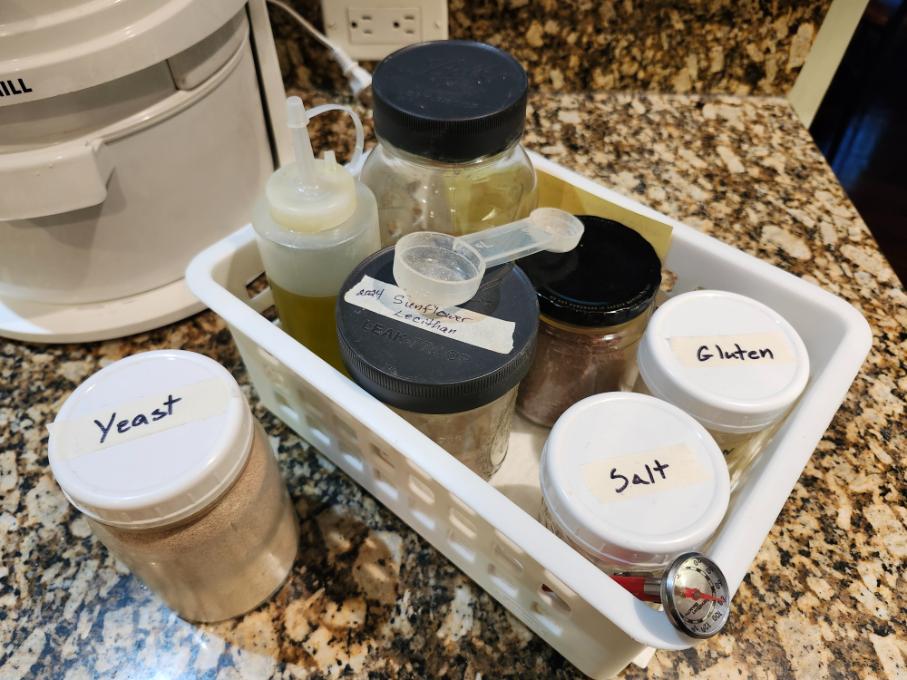
Get Organized
I’ve found that being organized sure does make the baking process so much faster. Many years ago I put together a “Baking Basket”. My basket contains all the main ingredients and small tools I use every time I bake.
My baking basket: Salt – Lecithin – Gluten – Flax Seed – Sugar – Olive Oil Squeeze Bottle – Multi-Measure Spoon – Instant Thermometer
Yeast – kept in the refrigerator in a mason jar
Kitchen Scale – near where I roll my dough

Step 4: A Mixer with a Dough Hook
Once you have your grain mill, grain and other additional items, you are set to go milling and making fresh flour baked goods.
You can certainly get by with a bowl and a spoon. But, having mixer with a bread hook sure does make the bread-making life easier!
My FAVORITE MIXERS
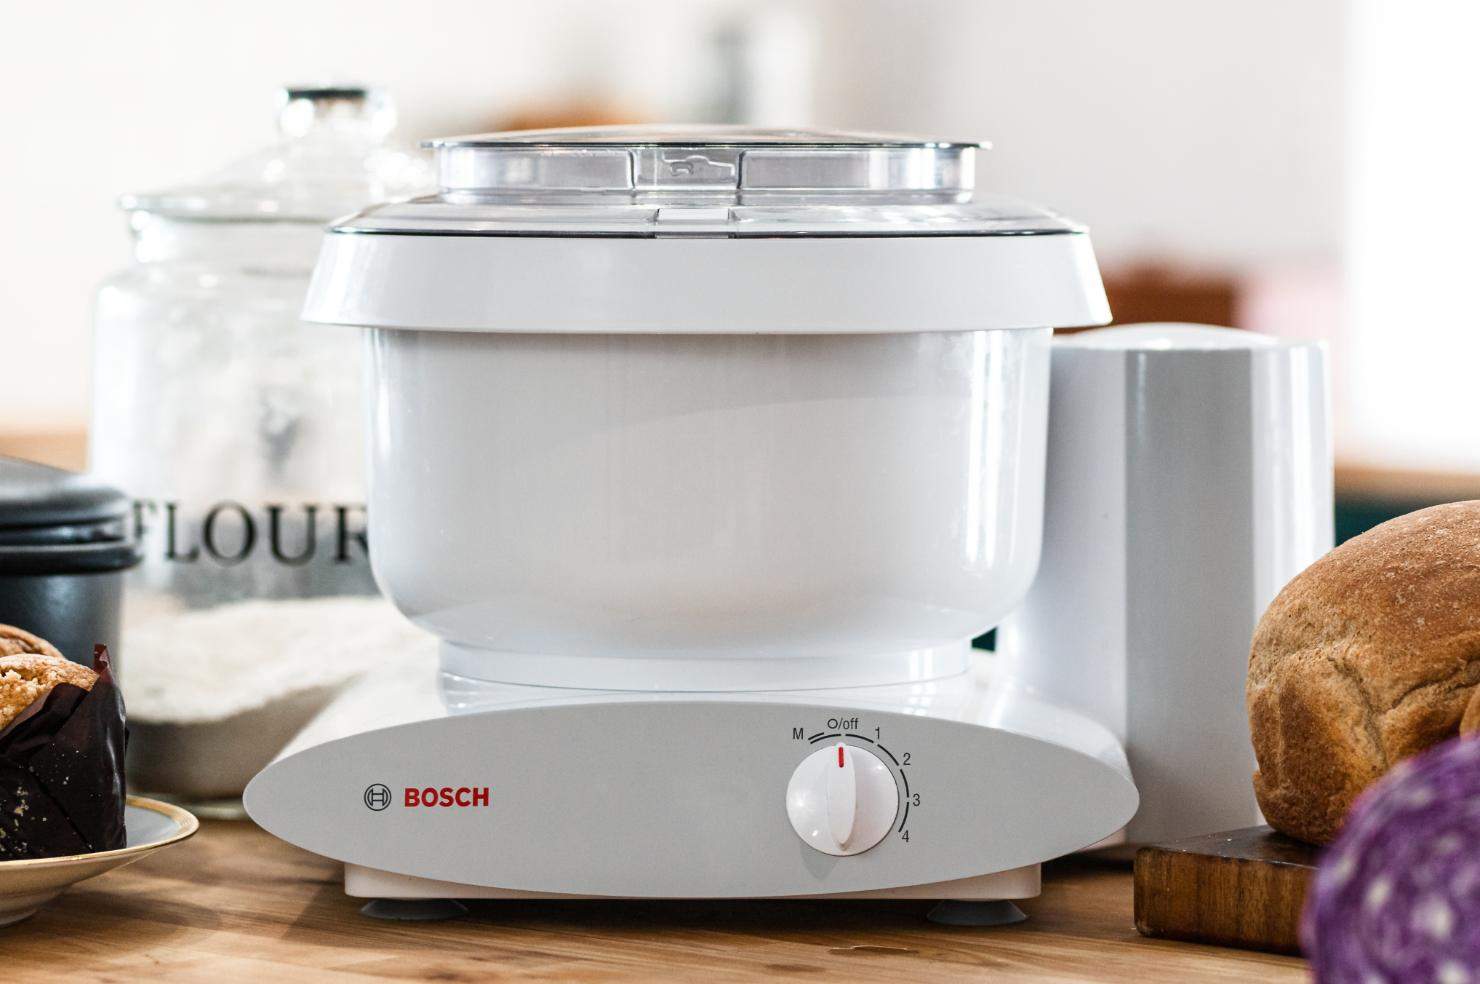
The Bosch Universal Plus Mixer
A powerful piece of machinery.
Great for the home baker and professional a like.
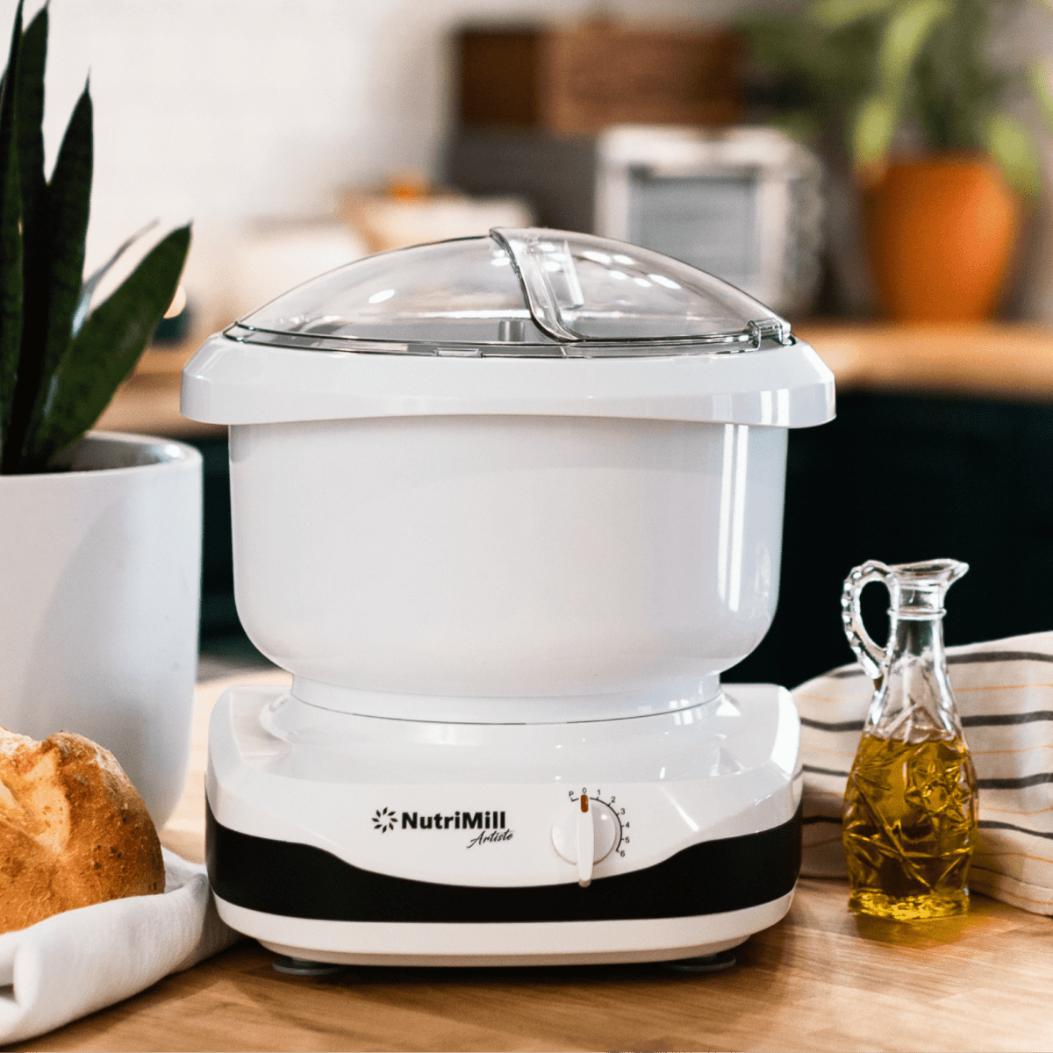
NutriMill Artiste Mixer
Also powerful. Has a little smaller footprint.
Pleasing price-point for any kitchen.
Both mixers are made for working with whole grain flours; not all mixers are able to handle that kind of work.
Dough hooks replicate hand kneading for perfect dough development.
Each mixer has a large mixer bowl for big batches. Lots of attachments available.
Check them both out and choose the one which meets your needs the best.
I LOVE these machines!
Well, they are GREAT mixers!!! I’ve had others and these run circles around them all. Seriously!
Bosch Universal Plus Mixer
NutriMill Artiste Mixer
One batch of dough
you can make:
- 2 Bread Loaves
- Dinner Rolls
- Hambuger Buns
- Cinnamon Rolls
All from the same recipe
AT THE SAME TIME!
You know what that means?
It means you are only baking once!
Don’t you love that?!
Can you say TIME SAVER!
Step 5: Get Started List
Now that you have taken a deep breath, use the attached check list to get started.
Step 6: Deep Breath & Get Started
OK, take a deep breath and get started.
It really is easy.
YOU CAN DO IT!
Milling whole grains is not only nutritious, but it’s FUN!
So, get the whole family involved.
Make the life changing decision today to make all your baked goods at home by milling whole grains, corn and beans. You will be so glad you made the switch.
Let's Do This Thing
ENTER CODE: BREADROOTS
at checkout for more possible savings!
Additional helpful information:
Buying & Storing Grains & Beans
Bread Making Tips
Healthy Ingredients
Check out: My easy & delicious recipes